
Introduction to Cheeseburger Sliders
Why Cheeseburger Sliders Are the Ultimate Comfort Food
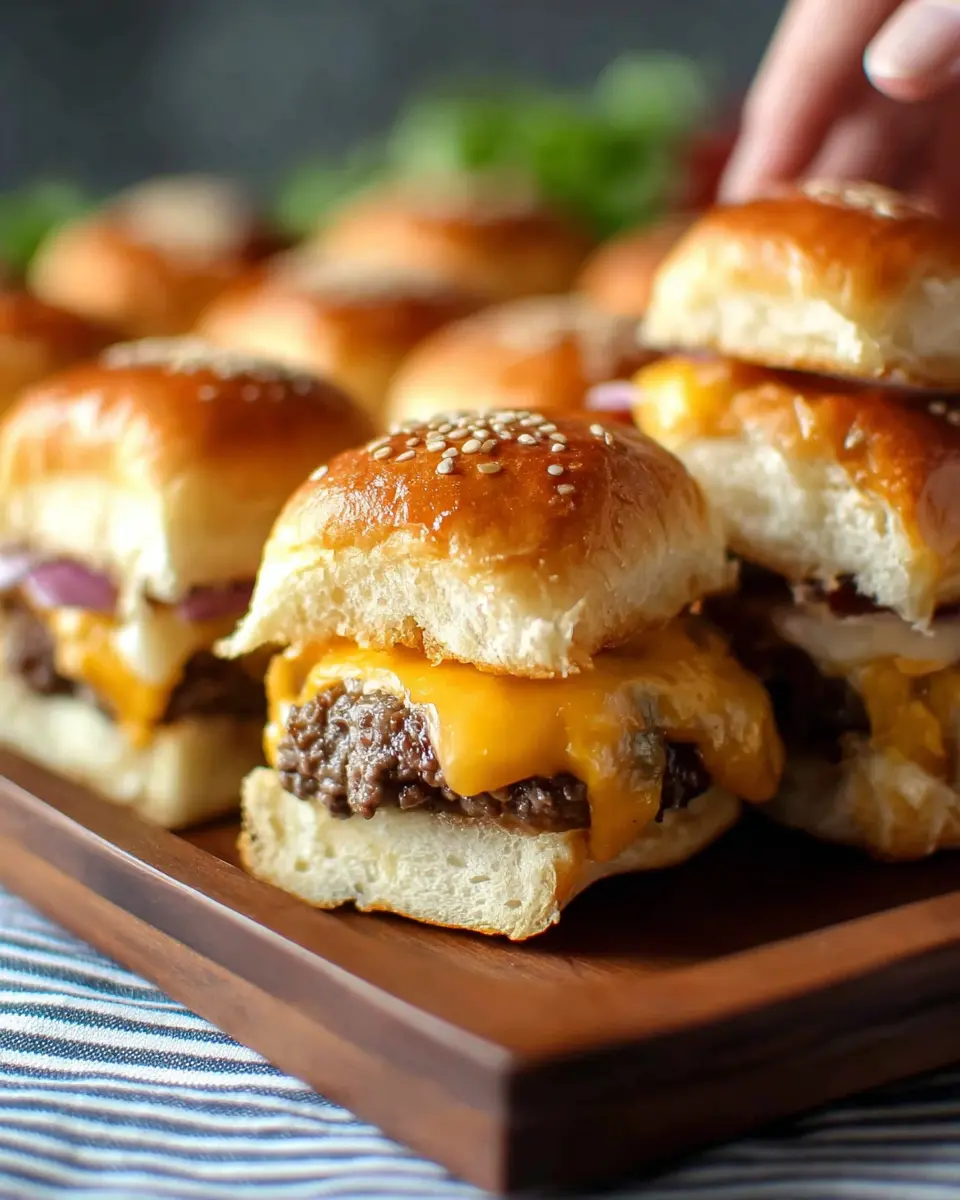
Who doesn’t love a good cheeseburger? Now, imagine the flavor of that classic favorite, all rolled into a delightful slider. Cheeseburger sliders are not just mini versions of their larger counterparts; they are packed with comfort and joy, perfect for sharing with friends at gatherings or enjoying a cozy night in.
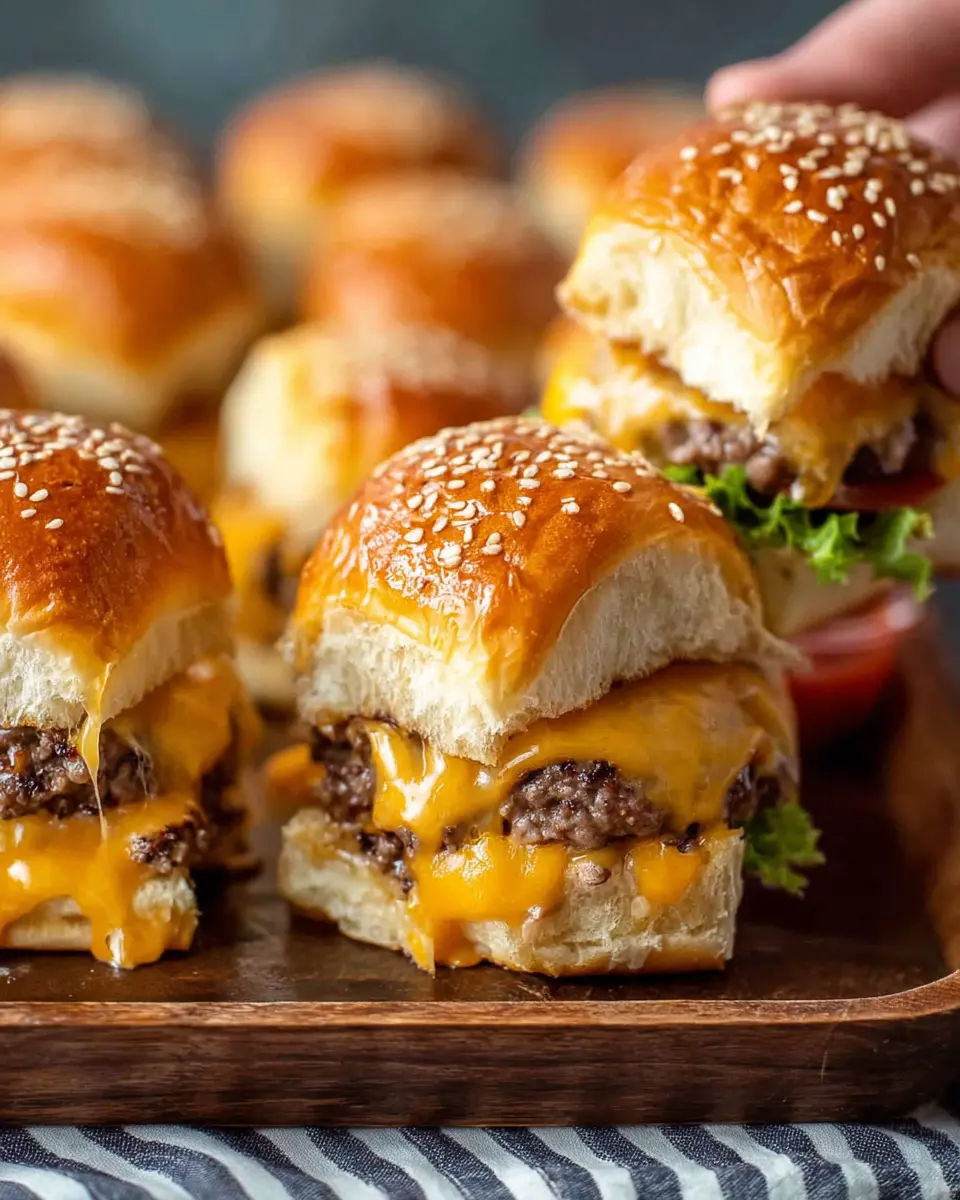
The beauty of these sliders lies in their sheer versatility. You can customize them with your favorite toppings, whether it’s crisp lettuce, juicy tomatoes, or even a zesty barbecue sauce. They’re perfect for game day, a casual hangout, or even a weekday dinner when you want something delicious and easy to prepare. According to a survey by the National Chicken Council, sliders have become increasingly popular at social events, proving their status as a beloved crowd-pleaser.
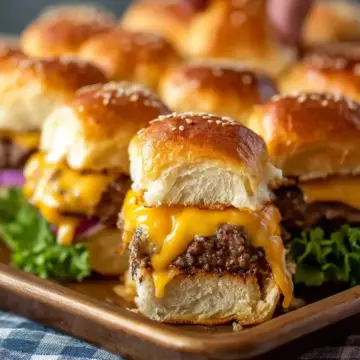
Plus, the baking method ensures that every slider comes out perfectly melted and golden brown, creating a delightful combination of textures and flavors. Whether you’re cooking for two or a whole party, these sliders are sure to be the highlight of the meal! For a scrumptious experience, let’s dive into crafting your very own cheeseburger sliders with the full recipe below!

Ingredients for Cheeseburger Sliders
When it comes to crafting the ultimate cheeseburger sliders, having the right ingredients is essential for achieving that delicious flavor and texture. Below, you'll find a breakdown of what you'll need for these delightful baked sliders.
Essential Ingredients
- 2 lbs lean ground beef (I recommend 85% for that juicy texture)
- 2 teaspoon garlic powder (adds great depth!)
- 1 teaspoon kosher salt
- 2 teaspoon ground black pepper
- 1 tablespoon olive oil (for sautéing)
- ½ white onion (diced for sweetness)
- 12 slider-sized Hawaiian rolls (soft and slightly sweet)
- 12 (¾ oz.) cheese snack bars (any flavor will do, but I prefer Borden for the melty goodness)
These foundational ingredients come together to create a satisfying base for your cheeseburger sliders!
Optional Glaze Ingredients
To take your cheeseburger sliders to the next level, consider adding a flavorful glaze:
- ¼ cup unsalted butter (melted for richness)
- ½ teaspoon kosher salt
- 2 tablespoon brown sugar (for a hint of sweetness)
- 3 teaspoon Worcestershire sauce
- 2 tablespoon Dijon mustard (for a little tang)
- ½ tablespoon sesame seeds (plus more for garnish)
Drizzling this glaze over the sliders just before baking adds an irresistible finish, enhancing the overall flavor profile. Don't skip it if you want a gourmet touch!
For more tips and recipe inspiration, check out The Cookie Rookie for delightful culinary ideas that will elevate your meal planning.
Preparing Cheeseburger Sliders
Making cheeseburger sliders is a delightful culinary adventure that will impress your friends and family alike! These bite-sized wonders are an ideal match for any gathering or a cozy night at home. Let’s dive into the preparation process that will help you whip up this savory dish effortlessly.
Preheat and Prepare the Ground Beef
First up, you’ll want to set your oven to 350°F (175°C). While the oven warms up, take 2 lbs of lean ground beef (85% is a great choice) and mix it with 2 teaspoon garlic powder, 1 teaspoon kosher salt, and 2 teaspoon ground black pepper. This blend will enhance the flavor profile of your beef, giving those sliders a delicious kick. A quick tip: don’t overwork the meat to keep your sliders tender! Once everything is combined, press the beef mixture evenly into the bottom of your 9x13 baking dish. This will be the base layer of your cheeseburger sliders.
Bake the Beef Layer
Now that you've got the beef all ready, it's time to pop it into the oven. Bake for about 20 minutes until it's just cooked through. After baking, you’ll notice some liquid pooling on the surface; gently drain this off to avoid soggy sliders later. The juicy, flavorful beef will set the stage for the rest of your ingredients.
Assemble the Sliders
While the beef is baking, slice your Hawaiian rolls—you’ll need 12 slider-sized rolls—in half lengthwise. Place the bottom half in your lined baking pan. Layer the cooked beef evenly on top, followed by sautéed onions and a generous amount of your favorite cheese (I recommend using cheese snack bars for the perfect meltiness). Finally, top it off with the roll tops.
Make the Glaze
To make these sliders irresistible, let's whip up a glaze! In a small bowl, mix together ¼ cup melted unsalted butter, ½ teaspoon kosher salt, 2 tablespoon brown sugar, 3 teaspoon Worcestershire sauce, 2 tablespoon Dijon mustard, and ½ tablespoon sesame seeds. This blend will give the rolls a delightful sheen and flavor.
Brush the Rolls and Bake Again
Generously brush your glaze over the tops of the assembled rolls. If you're feeling adventurous, let some of it drip down into the beef below! Sprinkle with additional sesame seeds for that classic cheeseburger touch. Now pop the pan back into the oven for another 20 minutes, until the rolls are golden brown and the cheese is melting beautifully.
And there you have it—your scrumptious cheeseburger sliders are ready to be sliced and devoured! Perfect for game day or a fun family dinner, they’re sure to be a hit. Enjoy every bite guilt-free, knowing you followed this easy, step-by-step guide!
Variations on Cheeseburger Sliders
Spicy Sliders with Jalapeños
If you're a fan of heat, these spicy cheeseburger sliders are a must-try! Simply add sliced jalapeños to the ground beef mixture before baking, or layer them between the beef and cheese for a flavorful kick. A drizzle of sriracha or your favorite hot sauce on top before serving can elevate these sliders even further. Not only do they satisfy your cravings, but they also add a vibrant pop of color to your appetizer spread!
Veggie Sliders for a Healthy Twist
Looking for a lighter option? Consider making veggie sliders! Swap the ground beef with a mixture of black beans, quinoa, and finely chopped veggies. Season them with your favorite spices, then bake just like the classic cheeseburger sliders. These sliders are not only healthier but also bursting with flavors, making them a crowd-pleaser for both vegetarians and meat-lovers alike. For some extra zing, top them with avocado or a dollop of Greek yogurt!
Explore these variations to suit any taste; they're sure to impress your guests at your next gathering.
Cooking Tips and Notes for Cheeseburger Sliders
Selecting the Right Ingredients
For mouthwatering cheeseburger sliders, the quality of your ingredients makes a big difference. Opt for lean ground beef (around 85%) to keep things juicy. Fresh Hawaiian rolls are a must—they add a subtle sweetness. Don't skip on the cheese; a good meltable cheese, like American or cheddar, elevates flavor. Feel free to experiment with spices or add extras like pickles or jalapeños to personalize your sliders!
Storing and Reheating
Leftover sliders? No problem! Wrap them tightly in plastic wrap and store in the refrigerator for up to 3 days. For a quick reheat, place them in a preheated oven at 350°F for about 10-15 minutes. This method helps maintain that delightful meltiness in the cheese. For extra flavor, add a splash of water to the pan before covering it with foil before reheating!
Serving Suggestions for Cheeseburger Sliders
Pairing Sliders with Sides
When enjoying cheeseburger sliders, consider pairing them with vibrant sides that perfectly complement their flavors. Crispy sweet potato fries are a fantastic choice, offering a contrast of sweetness and crunch. Alternatively, a fresh side salad with a zesty vinaigrette can add a refreshing touch. For a heartier option, opt for classic potato wedges dipped in creamy ranch dressing. Check out this easy coleslaw recipe to add some crunch!
Creative Presentation Ideas
Presentation matters! Serve your cheesy sliders on a rustic wooden board for a more inviting look. You might also consider using small paper baskets lined with parchment, adding a playful vibe. For an elevated touch, garnish with fresh herbs or skewers to hold them together—perfect for parties! Remember, the goal is to make your cheeseburger sliders as tempting visually as they are deliciously!
Time Breakdown for Cheeseburger Sliders
Preparation Time
Getting started on your cheeseburger sliders is a breeze with just 10 minutes needed for preparation. While you chop onions and mix spices, imagine the delicious flavors coming together!
Cooking Time
After prep, you’ll spend 40 minutes in the oven, allowing your sliders to bake to golden perfection. This is the perfect time to get your favorite dipping sauces ready, or even set the mood with some music!
Total Time
In just 50 minutes, you can have a mouthwatering batch of baked cheeseburger sliders ready to serve. Perfect for game day or a spontaneous weeknight dinner, these sliders are sure to satisfy your cravings.
For more tips and tricks, feel free to explore other recipes like Homemade Hawaiian Rolls or discover the science behind the best burger cooking methods!
Nutritional Facts for Cheeseburger Sliders
When it comes to indulging in cheeseburger sliders, knowing their nutritional content can be a game-changer. Here’s a quick breakdown:
- Calories: Each serving of two sliders clocks in at approximately 736 calories, making them a hearty option for any gathering.
- Protein: With around 46 grams of protein, these sliders are not just delicious—they'll also fuel your day.
- Fat: Expect about 43 grams of fat, a mix of healthy and indulgent fats that contribute to the sliders' rich flavor.
For more detailed nutritious insights, check out Nutrition Data or similar high-authority sources. Enjoying sliders in moderation can fit seamlessly into your culinary adventures!
FAQs about Cheeseburger Sliders
Can I use ground turkey instead of beef?
Absolutely! Using ground turkey is a fantastic option if you're looking for a leaner alternative. Just keep in mind that turkey can dry out more easily than beef, so consider adding a bit more seasoning or moisture. You might also want to try mixing in a spoonful of olive oil or Greek yogurt to keep your cheeseburger sliders juicy and flavorful.
How do I keep my sliders from getting soggy?
Soggy sliders are a common concern, but a few tips can help: First, make sure to drain excess fat after baking the beef. Also, don't add condiments until you're ready to serve. You can also toast the bottom buns slightly before assembling to create a barrier against moisture. Lastly, try using a thicker burger patty to keep juices inside!
What are some good dipping sauces for cheeseburger sliders?
Dipping sauces can elevate your cheeseburger sliders from good to great! Consider these delicious options:
- BBQ sauce adds a smoky kick
- Ketchup and mustard for classic flavors
- Ranch dressing for a creamy twist
- Spicy mayo for an extra zing
These easy additions will surely impress your guests! If you want more tips or sauce recipes, check out this handy guide.
Conclusion on Cheeseburger Sliders
In conclusion, these cheeseburger sliders are a deliciously easy option for any gathering. They combine savory ground beef with melty cheese and flavorful toppings, creating a crowd-pleaser that’s perfect for game day or casual get-togethers. Try them out, and your friends will be begging for the recipe!
Cheeseburger Sliders (Baked Sliders Recipe)
Equipment
- 9x13 baking pan
Ingredients
For the Cheeseburgers
- 2 lbs lean ground beef I used 85%
- 2 teaspoon garlic powder
- 1 teaspoon kosher salt
- 2 teaspoon ground black pepper
- 1 tablespoon olive oil
- ½ white onion diced
- 12 slider-sized Hawaiian rolls (1 package)
- 12 (¾ oz.) cheese snack bars any flavor -- I used Borden
For the Glaze (Optional)
- ¼ cup unsalted butter melted (½ stick)
- ½ teaspoon kosher salt
- 2 tablespoon brown sugar
- 3 teaspoon Worcestershire sauce
- 2 tablespoon Dijon mustard
- ½ tablespoon sesame seeds plus more for garnish
Instructions
Instructions
- Preheat oven to 350°F.
- Combine the beef and spices in a bowl.
- Press the beef into the bottom of a 9x13-inch baking dish into a flat and even layer.
- Bake for 20 minutes. Drain the liquid and set aside.
- Slice the rolls in half lengthwise. Place the bottom half in a lined baking pan.
- Top the bottom half of the rolls with the cooked beef.
- In a large skillet set over medium-high heat, add the olive oil. Add in the diced onion and stir to coat. Cook until the onion is translucent and fragrant.
- Top the beef with the cooked onions, cheese, and top half of the bun.
- In a small bowl, combine the melted butter and all other ingredients for the butter topping.
- Brush the tops of the rolls liberally with melted butter (or pour it over) mixture and sprinkle the sesame seeds on top.
- Bake for an additional 20 minutes, or until the bread is toasted and the cheese is melty.
- Slice into individual sliders and serve hot. Enjoy!


Leave a Reply