
Introduction to Danish Butter Cookies
What are Danish Butter Cookies and why are they beloved?
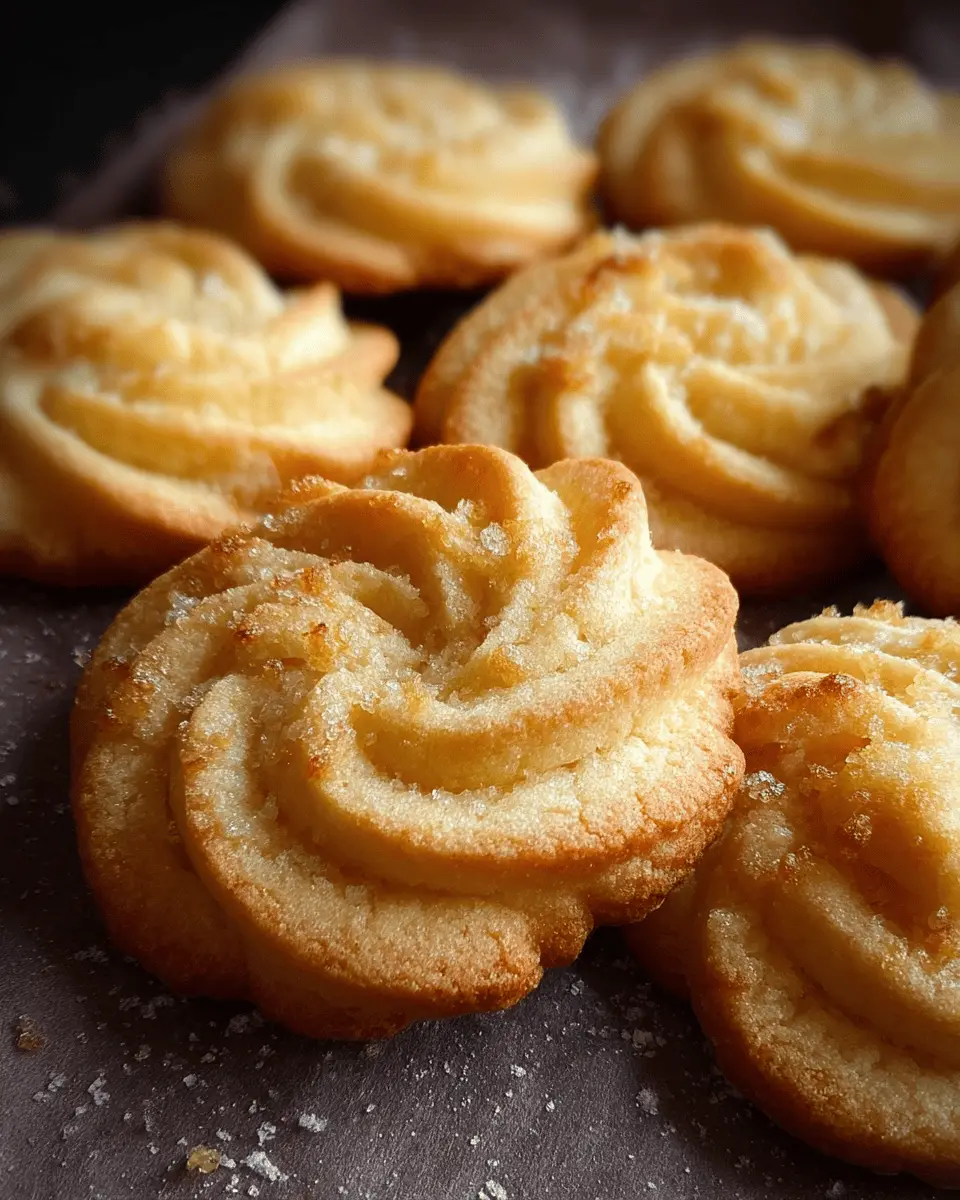
Danish Butter Cookies are a delightful treat, cherished for their rich buttery flavor and crisp texture. Originating from Denmark, these cookies have become a beloved staple in many households worldwide. Their simple ingredients—primarily butter, sugar, and flour—come together to create a melt-in-your-mouth experience that keeps you coming back for more.
What makes these cookies even more special is their versatility. Whether enjoyed alongside a cup of coffee or as a sweet gift in decorative tins, Danish Butter Cookies brighten any occasion. They hold a unique place in holiday traditions, often filling festive tables or sharing the spotlight with other sweet delights.
Why are they so adored? Their easy preparation means they fit seamlessly into busy lifestyles. With just a handful of ingredients, you can whip up a batch in under an hour, making them perfect for spontaneous baking sessions or planned gatherings. For those who appreciate homemade treats, mastering this recipe is a satisfying endeavor, especially when you pipe them into beautiful shapes.
In the upcoming recipe, we’ll guide you step-by-step through creating these delightful cookies. So, roll up your sleeves, and let’s dive into the world of Danish Butter Cookies! For more on Danish culinary traditions, check out this article to learn about Danishes and their unique flavors.
Ingredients for Danish Butter Cookies
Essential ingredients for the perfect cookies
Creating Danish Butter Cookies is a delightful journey, and it all starts with just four essential ingredients. Let’s break them down:
-
Butter: You’ll need ½ cup of butter at room temperature. Softened butter is key to achieving that light and delicate texture. Remember to take it out of the refrigerator an hour before you bake!
-
Powdered Sugar: This ingredient adds a subtle sweetness. You’ll also use ½ cup of powdered sugar to ensure your cookies are melt-in-your-mouth delicious.
-
Vanilla Extract: A teaspoon of this aromatic ingredient lifts the flavor and makes your cookies irresistibly fragrant.
-
Flour: For the right texture, you can choose between 1 cup of cake flour or all-purpose flour. I personally recommend cake flour for that soft, tender crumb.
These four ingredients are simple yet vital, ensuring your Danish Butter Cookies turn out perfect every time. Interested in exploring more baking tips? Check out resources from the American Chemical Society.
Preparing Danish Butter Cookies
Baking Danish Butter Cookies is not only about following a recipe—it's about creating a delightful experience in your kitchen. With just four simple ingredients, you can whip up a batch of delicious, melt-in-your-mouth cookies that are sure to impress your friends and family. Let’s walk through the preparations step by step.
Soften the Butter
The first step in making Danish Butter Cookies is to start with perfectly softened butter. Take ½ cup of unsalted butter out of your refrigerator at least an hour before you begin baking. It should feel soft to the touch, almost like a pillow, but do not let it melt. Softening the butter allows for a smooth, creamy texture when mixed, which is crucial for that light, delicate finish you want in your cookies.
Creaming the Butter, Sugar, and Vanilla
Once the butter is softened, it’s time to cream it together with ½ cup of powdered sugar and 1 teaspoon of vanilla extract. Using a handheld or stand mixer, combine these ingredients for about 5 to 8 minutes. This step is vital—you want the mixture to turn light in color and fluffy in texture. This airiness adds to that wonderful melt-in-your-mouth sensation. If you’re interested in learning more about the importance of creaming, check out American baking techniques.
Incorporate the Flour
Next, gently incorporate 1 cup of cake flour (all-purpose can also work) into the creamed mixture. Use a spatula to scrape down the sides of the bowl and fold the flour in slowly, about ⅓ cup at a time. This gradual process ensures you maintain that fluffiness. When combined, the dough will start to take shape, and you’ll be one step closer to those beautiful cookies.
Shape the Dough
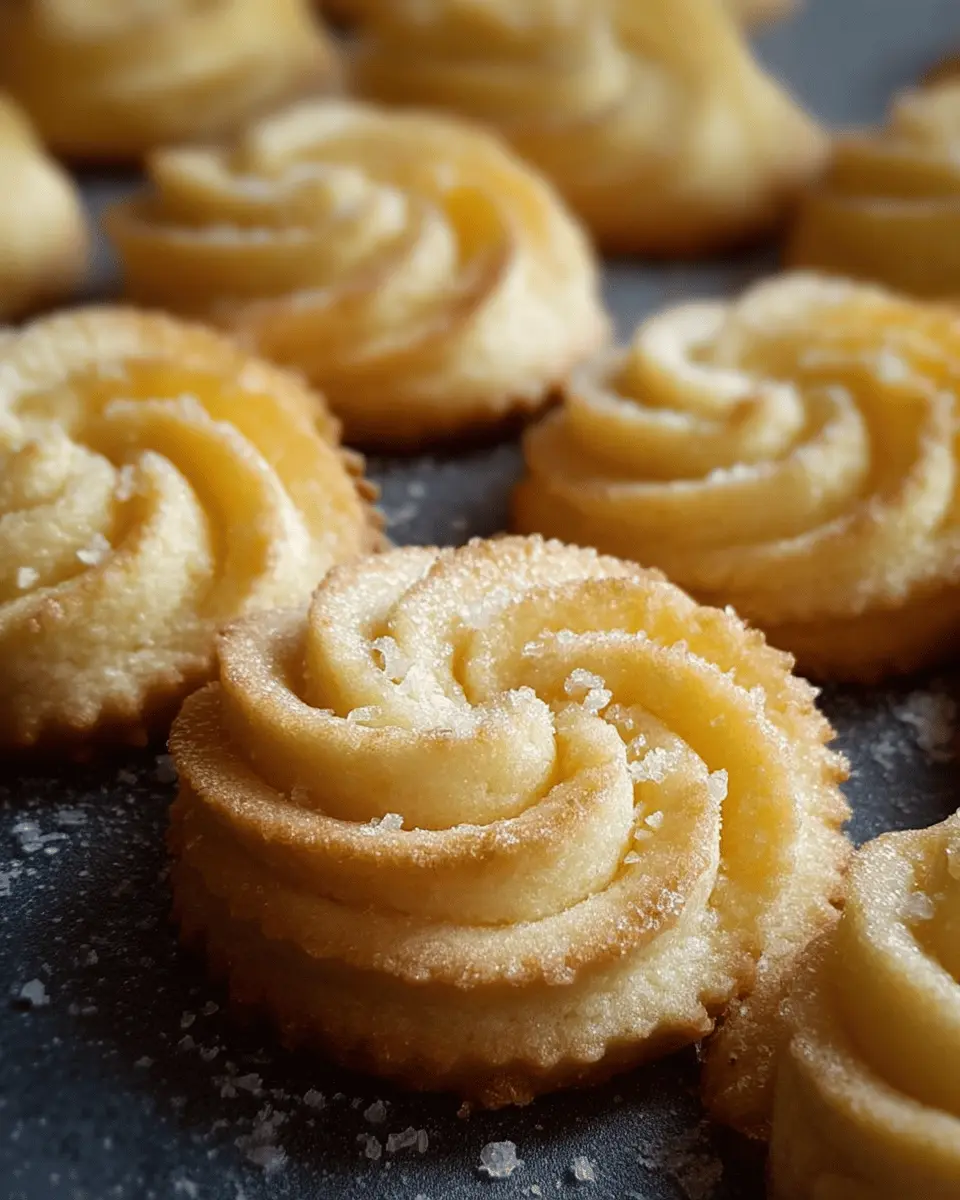
After the dough is mixed, it’s time to shape it. Transfer your dough onto a sheet of plastic wrap and roll it into a log. To make piping easier, you can cut a small hole in one end of the plastic wrap and place the dough into a piping bag fitted with a flower-tipped nozzle. Don’t worry if you’re new to this; just remember to keep the dough nice and manageable.
Pipe and Chill the Cookies
Using the piping bag, carefully pipe the dough onto a baking sheet lined with parchment paper or a silicone mat. If you find the dough too stiff, a tablespoon of warm milk can help loosen it up. Once piped, pop the baking sheet into the refrigerator for 30 minutes. Chilling the dough is a crucial step, as it prevents spreading during baking, ensuring those lovely shapes you created maintain their form.
Bake to Perfection
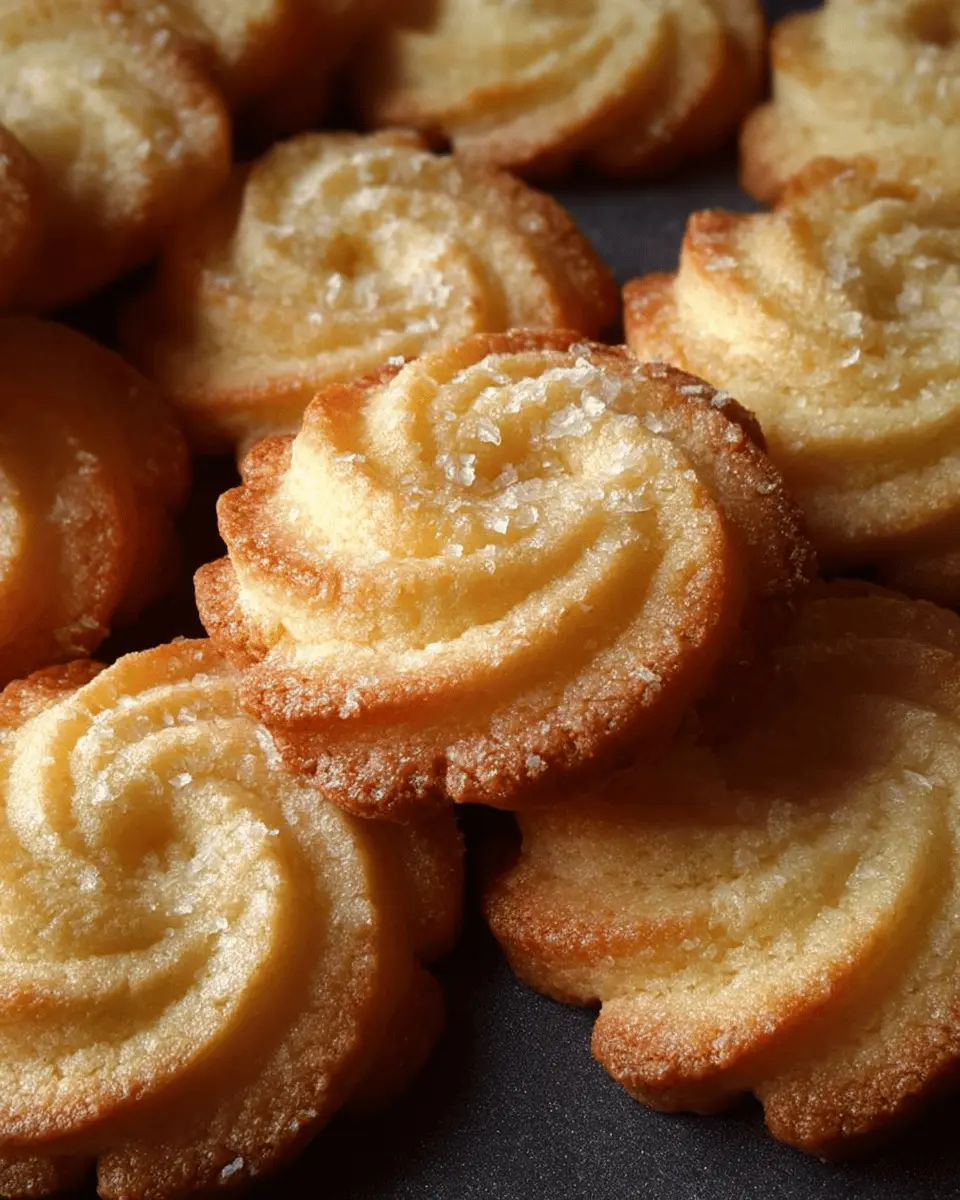
Finally, it’s time to bake your Danish Butter Cookies. Preheat your oven to 300°F (150°C) and bake the cookies for 13 to 15 minutes, or until the edges begin to turn golden brown. Once done, let them cool on the baking sheet for about 10 minutes before transferring to a wire rack or serving immediately. The result? A batch of beautifully piped cookies that are sure to be a hit!
Enjoy the process and happy baking!
Variations on Danish Butter Cookies
Chocolate-dipped Danish Butter Cookies
Why not take your Danish Butter Cookies to the next level? After baking, melt some chocolate—for a delightful twist, consider using dark or milk chocolate. Dip half of each cookie, letting the excess drip off before placing them on parchment paper to set. The rich chocolate adds an elegant touch, making these cookies perfect for gifting or special occasions.
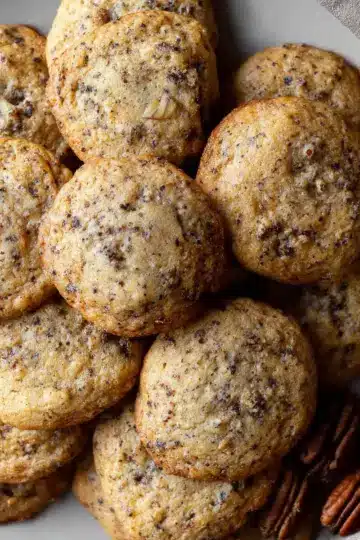
Nut-studded Danish Butter Cookies
If you love a little crunch, try adding chopped nuts to your Danish Butter Cookies. Walnuts, pecans, or almonds work beautifully! Simply fold in about a half cup of your chosen nuts before piping the dough onto your baking sheet. This not only enhances texture but also introduces nutty flavors that beautifully complement the buttery goodness. Fun tip: sprinkle some sea salt on top to elevate the taste even further!
These variations make it easy to enjoy this classic cookie in different ways. Happy baking!
Cooking tips and notes for Danish Butter Cookies
Helpful hints for perfect texture
To achieve melt-in-your-mouth Danish Butter Cookies, it’s crucial to pay attention to your butter. Make sure it’s at room temperature but not melted; soft butter creams with sugar more effectively, leading to that light, fluffy texture. Using cake flour instead of all-purpose flour can also greatly enhance the cookies’ tenderness.
Common mistakes to avoid
Avoid common pitfalls that can ruin your cookie dreams. Don’t skip the refrigeration step—this helps the piped cookies hold their shape during baking. Be careful not to overfill your piping bag; small amounts make it easier to manage. Finally, remember that packing the dough tightly can lead to dense cookies. Keep it light for the best Danish Butter Cookies!
If you're keen on perfecting your baking technique, check out resources like King Arthur Baking for expert tips and advice!
Serving suggestions for Danish Butter Cookies
Complementing drinks and treats
When enjoying Danish Butter Cookies, consider pairing them with delightful beverages. A warm cup of tea—like Earl Grey or chamomile—offers a soothing balance to the buttery sweetness. For coffee lovers, a rich espresso or creamy cappuccino makes an excellent match. To add a crunch, serve with a side of fresh fruit or a small dish of yogurt. Not only do these combos complement the cookies, but they also elevate the overall snack experience!
Creative serving ideas
Get creative with your presentation! Stack several Danish Butter Cookies in a glass jar for a charming display, or arrange them on a rustic wooden board. Dust with powdered sugar for a gentle touch of elegance. You can also use these cookies as a base for a mini dessert. Layer them with whipped cream and berries for a sweet treat that’s sure to impress. Little touches like these can turn a simple afternoon snack into a delightful gathering moment with friends or family. Explore more serving ideas on platforms like Bon Appétit for inspiration!
Time Breakdown for Danish Butter Cookies
Preparation Time
Get ready to bake these delicious Danish Butter Cookies! Plan for about 15 minutes to gather your ingredients and prepare the dough. It’s a great time to crank up your favorite tunes or catch up on a podcast while you measure and mix.
Baking Time
Once your cookies are piped and chilled, they’ll need 13 minutes in the oven to turn golden and crispy. Keep an eye on them toward the end to ensure they don't overbake.
Total Time
In total, you're looking at about 58 minutes from start to finish, including an essential 30 minutes of refrigeration for the dough. This resting period helps the cookies hold their delightful shape, making each one a picture-perfect treat.
These Danish Butter Cookies are so easy to make and perfect for sharing or enjoying with your favorite hot beverage. Happy baking!
Nutritional Facts for Danish Butter Cookies
Calories
Each delightful Danish Butter Cookie contains about 47 calories. This makes them a charming treat paired with your afternoon coffee, without derailing your day's nutrition.
Fats
While these cookies are rich in flavor, they are fairly modest in fat content, coming in at approximately 1g of fat per cookie. Most of this comes from the butter, which adds to the melt-in-your-mouth texture we all love.
Sugars
Satisfy your sweet tooth with about 3g of sugar in each cookie. With just a hint of sweetness, they’re perfect for those who appreciate a treat that’s not overly sugary.
For more on healthy snacking alternatives, check out this nourishing snack guide. If you’re curious about how to balance your meal plan while enjoying treats like these cookies, the Mayo Clinic offers valuable insights.
FAQs about Danish Butter Cookies
What is the best way to store Danish Butter Cookies?
To keep your Danish Butter Cookies fresh and delicious, store them in an airtight container at room temperature. This will help retain their crispness for up to a week. If you want to prolong their freshness, you can also freeze them. Just make sure to layer them with parchment paper, and they will keep well for up to three months!
Can I substitute ingredients in this recipe?
Absolutely! If you're short on cake flour, all-purpose flour works as a suitable substitute. Additionally, you can explore using alternative sweeteners or flavored extracts to personalize your cookies. Just remember that any changes might slightly alter the texture and flavor.
How can I make cookies that hold their shape?
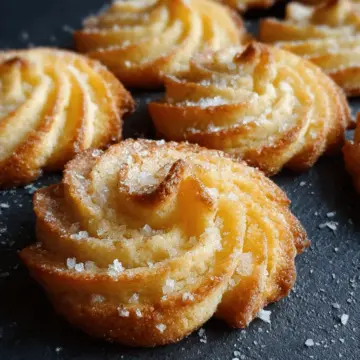
The key to achieving perfectly shaped Danish Butter Cookies lies in chilling your dough. After piping your cookies onto the baking sheet, refrigerate them for about 30 minutes before baking. This will help them maintain their shape and prevent spreading in the oven, ensuring that beautiful, delicate designs shine through!
For more tips on storing and customizing your cookies, feel free to check out resources like King Arthur Baking and Serious Eats. Happy baking!
Conclusion on Danish Butter Cookies
Making Danish Butter Cookies at home is a delightful experience, and the results are incredibly rewarding. These soft, melt-in-your-mouth treats are perfect for sharing or indulging. With only four simple ingredients, you can impress friends and family with your baking skills. Why not give it a try today?
Why You Should Try Making These Cookies at Home
Baking your own Danish Butter Cookies offers numerous advantages, making it a worthwhile endeavor for any home cook. Here’s why you should consider whipping up a batch:
-
Freshness and Flavor: There’s nothing quite like the aroma of freshly baked cookies filling your home. When you make these cookies from scratch, you guarantee freshness and flavor that store-bought versions can’t match.
-
Customizable: The beauty of this basic recipe lies in its versatility. Feel free to experiment with your favorite spices, zest, or even chocolate chips to suit your taste.
-
Skill Development: Baking can be a fun way to hone your culinary skills. From creaming butter properly to piping techniques, you’ll learn valuable techniques that you can use in countless other recipes.
-
Quality Control: By making your Danish Butter Cookies at home, you control what goes into them. This means better ingredients, fewer preservatives, and the satisfaction of knowing exactly what you’re consuming.
-
Family Fun: Baking these cookies can be a delightful activity with loved ones. Invite friends or family over for a baking session that can create long-lasting memories—and delicious treats!
Ready to embark on your Danish Butter Cookies journey? Grab your ingredients and get started! You’ll be amazed at how simple and enjoyable the process can be.
Danish Butter Cookies
Equipment
- Mixer
- piping bag
- baking sheet
Ingredients
- 0.5 cup butter at room temperature
- 0.5 cup powdered sugar
- 1 teaspoon vanilla extract
- 1 cup cake flour or all-purpose flour
Instructions
- Get the butter out of the refrigerator at least an hour before baking. It should be soft to the touch, but not melted.
- Cream the butter, sugar and vanilla extract with a handheld or stand mixer for 5 to 8 minutes until light and fluffy.
- Scrape the dough from the sides of the bowl and sift the flour, folding gently into the creamed mixture until combined.
- Transfer the dough to plastic wrap, roll into a log, and place it in a piping bag fitted with a flower tipped nozzle.
- Pipe the dough onto a baking sheet lined with a silicone mat or parchment paper.
- If the dough is too stiff, add a tablespoon of warm milk to soften it for easier piping.
- Refrigerate the baking sheet for 30 minutes to firm up the piped cookies.
- Sprinkle granulated sugar over the cookies before baking if desired.
- Bake in a preheated oven at 300°F/150°C for 15 minutes or until the edges are golden.
- Remove from the oven and cool on the baking sheet for 10 minutes before transferring to an airtight container.
Leave a Reply