
Introduction to Sourdough Starter
Creating your own sourdough starter at home is not just a baking trend; it’s a rewarding experience that connects you to the age-old craft of bread-making. Why make your own, you ask? For starters, crafting your own starter allows you to explore the nuances of fermentation—think of it as nurturing a living culture! You can customize it to your taste preferences and baking style, whether you prefer a milder or a more robust flavor.
Making a sourdough starter also ensures you know every ingredient that goes into it. This can be especially satisfying if you prioritize quality and health in your eating habits. Plus, it’s a fantastic conversation starter—imagine sharing your homemade sourdough bread with friends, explaining how you cultivated the starter from just flour and water!
As you embark on this journey, remember that patience is key. After feeding and nurturing your sourdough starter for about 10 days, you’ll witness the magic as it bubbles and rises. For wide-ranging tips on fermentation and other delightful bread recipes, consider checking out expert sites like King Arthur Baking and The Perfect Loaf. Let’s dive into the making of your very own sourdough starter!
Ingredients for Sourdough Starter
Creating your sourdough starter is a delightful blend of simplicity and natural ingredients. Let’s dive into the essential components that will set you on the path to homemade sourdough goodness.
Essential ingredients for the perfect starter
When it comes to starting your sourdough journey, the right ingredients make all the difference. Here’s what you’ll need:
-
Unbleached Bread Flour: 2 cups (about 8 ½ ounces) — This high-protein flour gives your starter strength and structure. It’s crucial for developing the gluten that helps your bread rise.
-
Whole-Wheat Flour: 2 cups (about 8 ½ ounces) — This adds a depth of flavor and beneficial nutrients that enhance the fermentation process. Whole wheat flour is packed with natural yeast, which feeds your starter.
-
Lukewarm Water: ¼ cup (about 2 ⅛ ounces), heated to 80°F to 85°F, plus extra for daily feedings. Water is essential for hydrating the flour and activating the yeast.
As you gather these simple ingredients, remember that patience is key! Your sourdough starter will take time to develop its unique character and delicious sour flavor. For tips on hydration levels and feeding ratios, check out resources from trusted sources like King Arthur Baking. Happy baking!
Preparing Sourdough Starter
Creating your own sourdough starter is not only rewarding but also a delightful culinary endeavor. With just a few simple ingredients—flour, water, and a bit of patience—you can cultivate a living culture that will elevate your baking game. Here’s a comprehensive guide to get you started!
Combine the flours
Begin by mixing two types of flour for optimal fermentation. Combine:
- 2 cups of unbleached bread flour (about 8 ½ ounces)
- 2 cups of whole-wheat flour (about 8 ½ ounces)
Using both flours provides a diverse range of nutrients, fostering a robust starter. A great tip is to use organic flour if possible, which can contain wild yeast that benefits the fermentation process.
Mix the initial batch
In a wide-mouthed quart jar or small bowl, stir together ¼ cup of lukewarm water (ideally between 80°F to 85°F) with ½ cup of the flour mixture (about 2 ⅛ ounces). Whisk until you achieve a smooth consistency. Cover this container with a kitchen towel to allow airflow. You want your starter to breathe while keeping unwanted contaminants out. Let it rest at room temperature for three days.
The waiting game: Day 1 to 3
During these first few days, you might not see much activity, and that's completely normal. It's all about the yeast and bacteria starting to take hold. If you notice a dark crust forming on top of the mixture after a day or so, don't panic. Simply scrape it off and discard it. The sour smell that begins to develop is a positive sign—it's the lactic acid bacteria doing their job!
Daily feedings and observations
Starting on Day 4, it’s time to feed your sourdough starter. Here’s how to do it:
- Discard about 2 tablespoons of the starter.
- Add 3 tablespoons of your flour mixture and 1 ½ tablespoons of water.
- Mix until smooth and cover again.
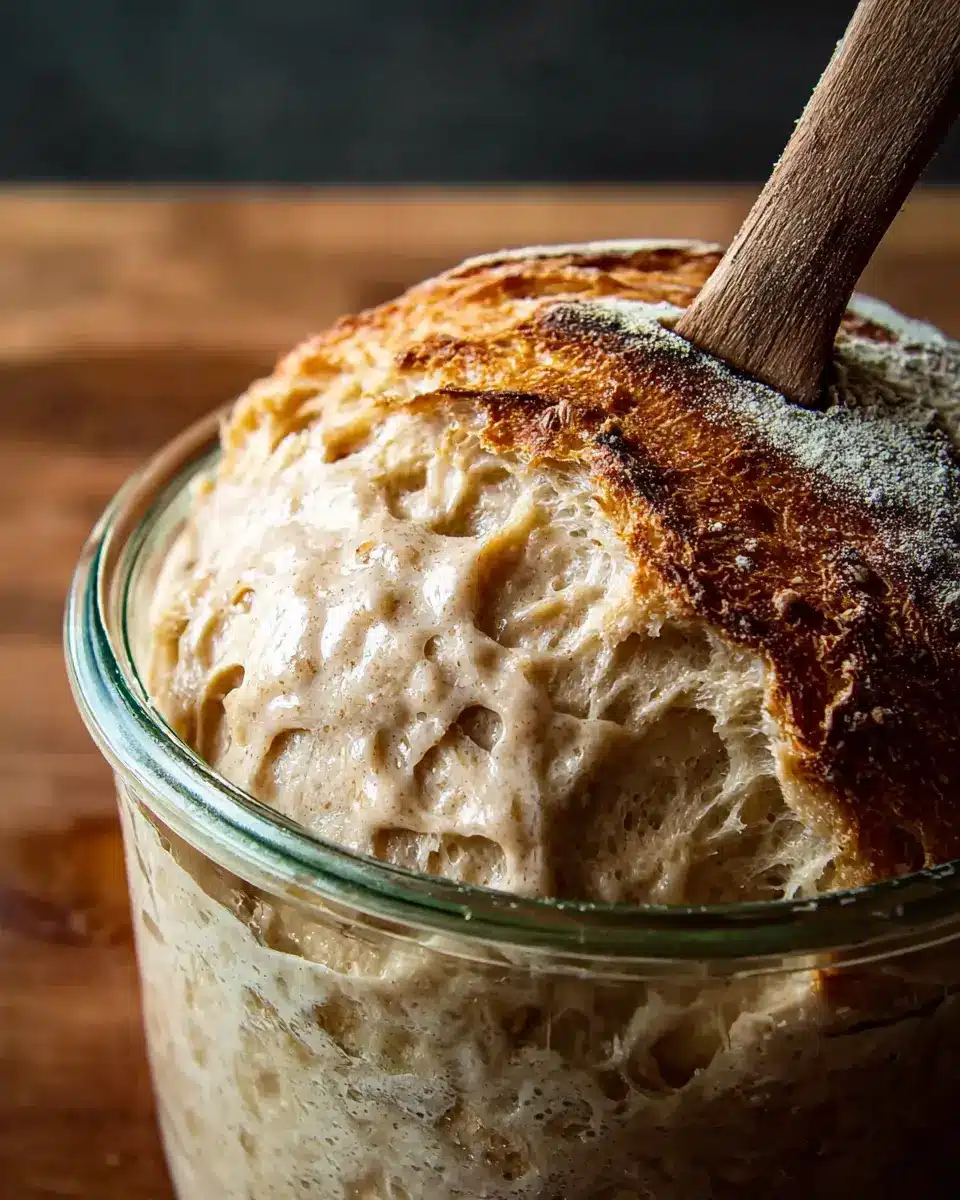
Repeat this feeding process daily. Each day, you should observe your starter becoming more active—a sign that the yeast is thriving! You might even notice it rising and falling within a few hours after feeding, which is fantastic!
Signs of a healthy starter
How do you know when your sourdough starter is ready for baking? Look for these indicators:
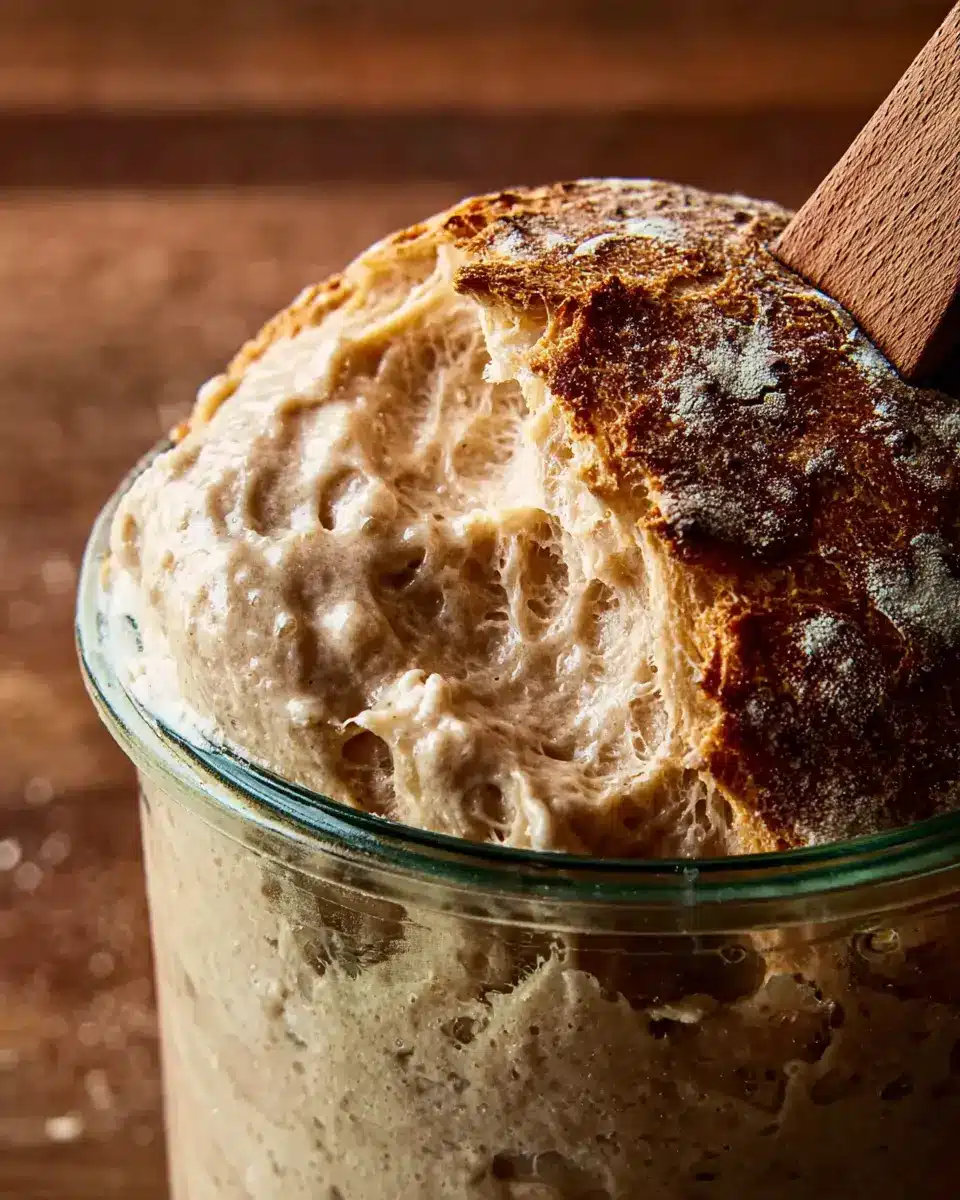
- Bubbles: A bubbly surface indicates active fermentation.
- Rise and fall: A good starter will approximately double in size in 4 to 8 hours post-feeding.
- Pleasant aroma: A tangy, slightly sour smell is ideal.
If you see these signs, congratulations! You’re on your way to baking delicious sourdough bread. For more detailed information on maintenance and usage, consider resources like The Sourdough School for expert guidance. Enjoy this culinary journey!
Variations of Sourdough Starter
Whole Grain Sourdough Starter
A whole grain sourdough starter packs a punch of flavor and nutrition! By using whole wheat flour instead of all-purpose, you’re introducing valuable nutrients and a deeper taste profile. Whole grain starters tend to ferment a bit slower, but they reward your patience with unique, complex flavors in your bread. Plus, they enhance the nutritional benefits, making your sourdough not just delicious, but also wholesome.
Gluten-Free Sourdough Starter
If you’re on a gluten-free diet, fear not! A gluten-free sourdough starter can easily be made using brown rice flour or a gluten-free all-purpose blend. Just like traditional starters, these variants require flour, water, and a bit of time to cultivate those wild yeasts. The result is a delightful, tangy starter that produces loaves with a lovely texture and flavor. Check out more about gluten-free baking on sites like King Arthur Baking for tips and tricks!
With these variations, you’ll find a sourdough starter that suits your dietary needs and flavor preferences, allowing you to explore the wonderful world of sourdough baking!
Cooking Tips and Notes for Sourdough Starter
Common Mistakes to Avoid
Creating your own sourdough starter can be rewarding, but a few common pitfalls can trip you up. Here are some helpful tips to ensure your starter thrives:
- Skipping the Feeding Schedule: Consistent feedings at the same time each day help your starter develop strong, active cultures. Don’t skip days!
- Using Cold Water: Always use lukewarm water (around 80°F to 85°F) to encourage bacteria growth. Cold water can slow down the fermentation process.
- Neglecting the Environment: Your starter needs a warm, stable environment—avoid drafts and extreme temperatures.
For more about fermentation and nurturing your starter, check out Serious Eats for detailed insights!
Serving Suggestions for Using Sourdough Starter
Sourdough Bread Recipes
Once your sourdough starter is bubbling away, the possibilities are endless! A classic sourdough bread is a must-try; its crispy crust and tangy flavor are simply irresistible. Don’t hesitate to explore other delightful options, such as sourdough pizza, focaccia, or even bagels. Each recipe allows the unique flavors of the starter to shine, bringing a homemade touch to your meals.
Baking with Sourdough Discard
What about that leftover starter? Instead of tossing it, get creative! Use your sourdough discard in waffles, pancakes, or even muffins for added flavor and texture. You can also stir it into soups or use it as a base for savory crackers. For inspiration, check out resources like King Arthur Baking or The Kitchn that feature various discard recipes. Embrace the journey and make the most out of your starter!
Time Breakdown for Sourdough Starter
Preparation Time
Creating your sourdough starter is relatively quick! You’ll need just about 15 minutes to mix your ingredients and get everything set up for fermentation. That’s not much time at all, especially considering how rewarding the end result will be.
Total Fermentation Time
The fermentation process takes a bit longer, approximately 12 days. This may sound like a long time, but it’s crucial for developing that unique flavor and bubbly texture you’ll love in your baked goods. Patience is key here—your starter will be well worth the wait!
For more tips on sourdough and other delicious recipes, check out resources like King Arthur Baking and The Spruce Eats for additional guidance. Starting your sourdough journey is exciting, and you’ll soon see the fruits of your labor come to life!
Nutritional Facts for Sourdough Starter
Understanding the nutritional profile of your sourdough starter can be quite enlightening! Here’s what you can generally expect in a standard serving (about 2 tablespoons):
Calories
A 2-tablespoon serving of sourdough starter typically contains around 50 calories, giving you a light base for your bread-making adventures.
Carbohydrates
You’ll find approximately 11 grams of carbohydrates in that same serving size, which is primarily derived from the flours used.
Protein Content
As for protein, expect around 1.5 grams per serving. While it’s not a powerhouse of protein, it does contribute to the overall nutrition of your sourdough creations.
For more detailed insights into ingredients and baking techniques, check out The Spruce Eats or King Arthur Baking. These sites are filled with great resources for baking enthusiasts like you!
FAQs about Sourdough Starter
How do I know if my starter is ready?
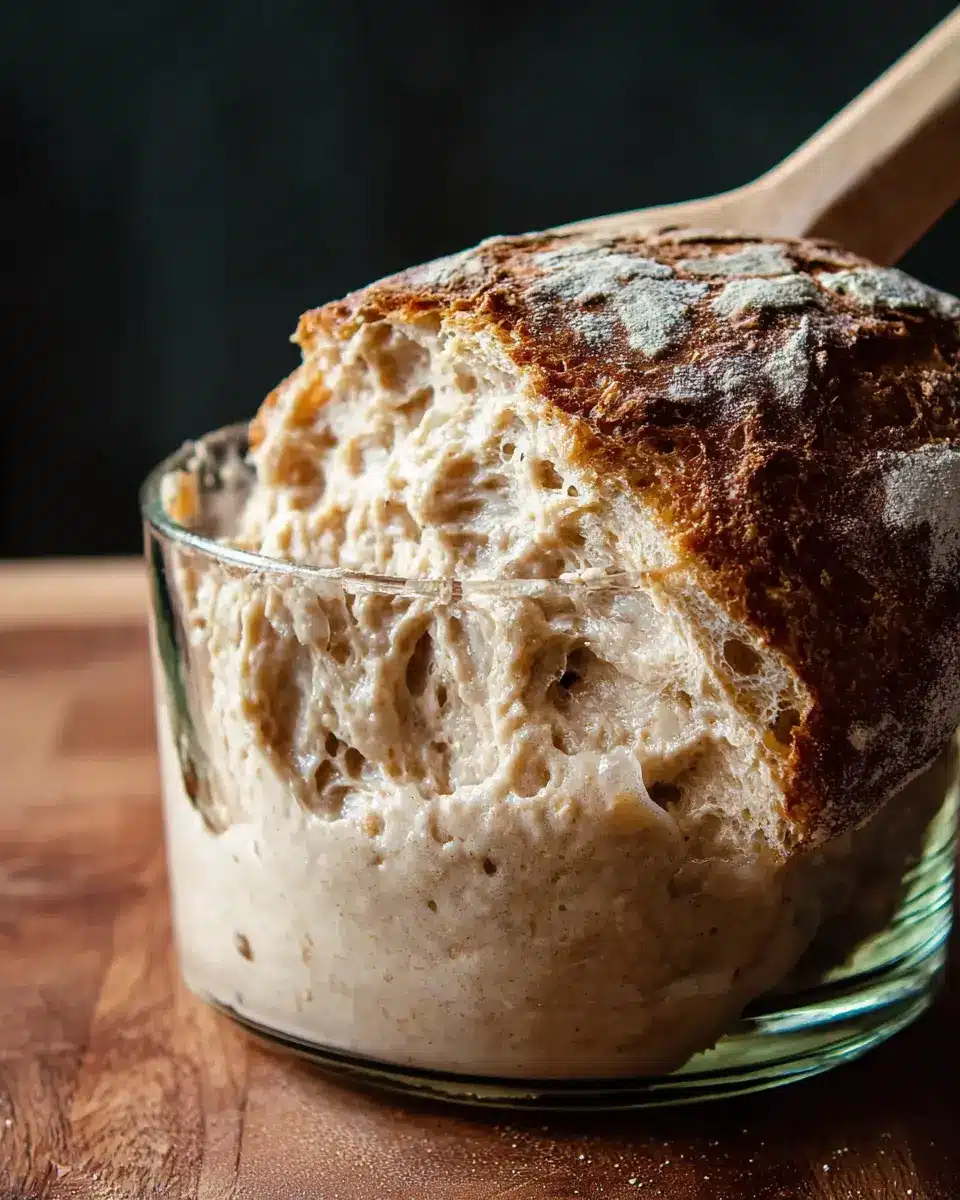
You'll know your sourdough starter is ready when it’s bubbly, has doubled in size within 4-8 hours after feeding, and has a pleasant tangy smell. If it’s consistently rising and falling, you’re on the right track! For more tips on determining readiness, check out this helpful sourdough guide.
What should I do if my starter smells bad?
If your sourdough starter emits an unpleasant odor or shows signs of mold, it might be a sign of trouble. Scrape off any dark crust or mold from the surface, and give it a feed. If the smell persists or becomes foul, it might be time to start fresh. Don't forget, sourdough can occasionally have some funky smells during fermentation—so trust your instincts!
Can I keep my sourdough starter in the fridge?
Absolutely! You can store your sourdough starter in the fridge to slow down fermentation. Just remember to feed it once a week to keep it healthy. When you’re ready to bake, take it out a day in advance, feed it, and let it come to room temperature! For more on maintaining your starter, explore this resource.
Conclusion on Sourdough Starter
Embracing the art of sourdough baking brings a delightful blend of patience and creativity. Your sourdough starter is not just a mixture; it’s a living culture that thrives on your care. With dedication, you'll soon enjoy the fruits of your labor in the form of delicious, homemade bread. Happy baking!
Sourdough Starter
Equipment
- mixing bowl
- Airtight container
- Wide-mouthed quart jar
Ingredients
Flours
- 2 cups unbleached bread flour about 8 ½ ounces
- 2 cups whole-wheat flour about 8 ½ ounces
Water
- ¼ cup lukewarm water 80°F to 85°F, plus more for feeding
Instructions
Starter Preparation
- Stir together bread flour and whole-wheat flour in a medium bowl or airtight container.
- Stir together ¼ cup water and ½ cup flour mixture in a wide-mouthed quart jar or small bowl until smooth. Cover with a kitchen towel and let stand at room temperature for 3 days. Reserve remaining flour mixture for feeding the starter.
- After 2 days, if a dark crust has formed on the starter’s surface, scrape it off and discard. The starter should smell acidic; if not, cover and let it stand at room temperature for 1 more day.
- To feed the starter: Scoop out and discard about 2 tablespoons starter. Add 3 tablespoons flour mixture and 1 ½ tablespoons water; stir until smooth. Cover and let stand at room temperature.
- Repeat the daily feedings until your starter is bubbly, has a tangy smell, and rises and falls consistently, about 10 days.


Leave a Reply