
Introduction to Yaki Onigiri
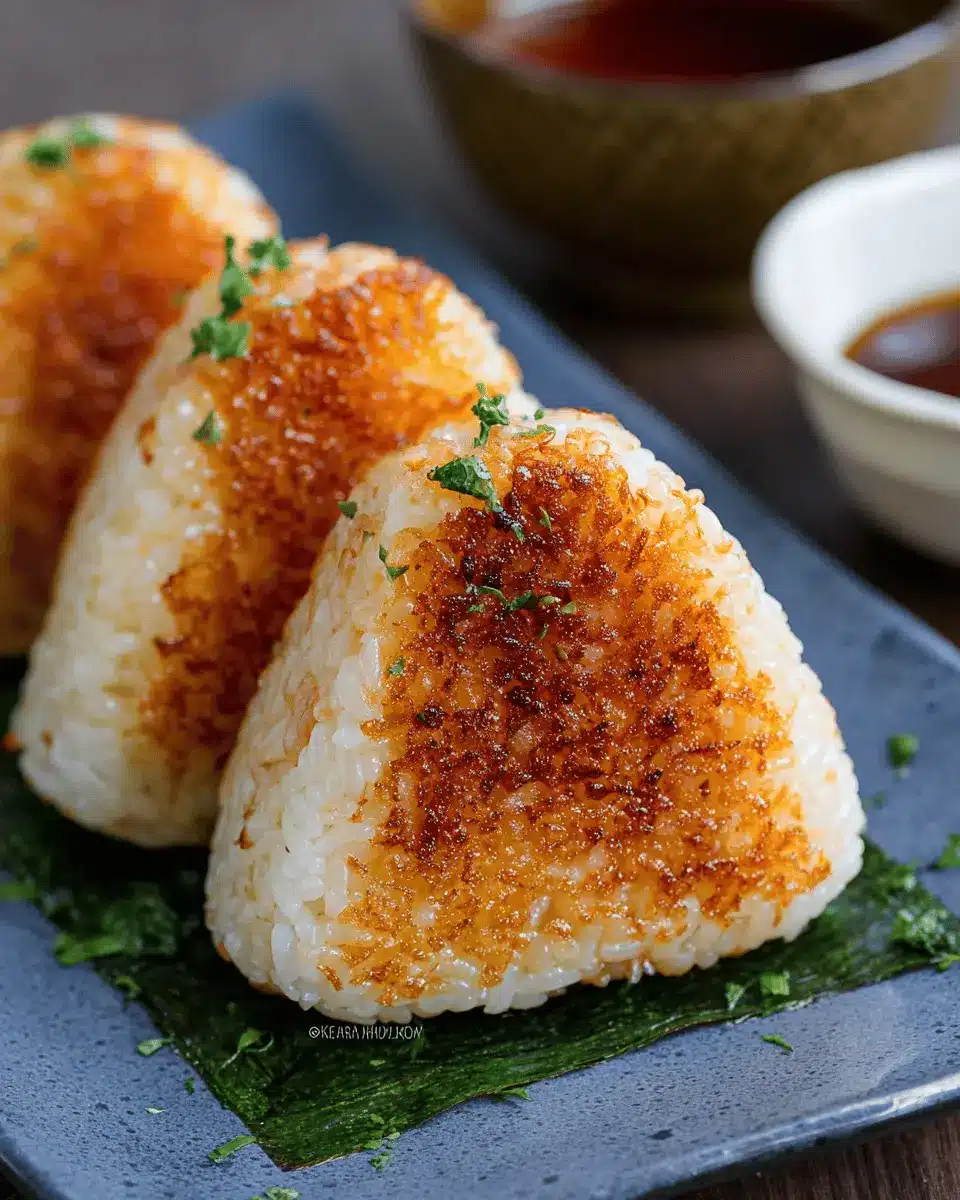
When it comes to quick and satisfying meals, nothing beats yaki onigiri—Japanese grilled rice balls that are both delicious and versatile! Young professionals often lead busy lives filled with work commitments and social activities, making it essential to seek out convenient meal options that don’t compromise on flavor. Yaki onigiri checks all those boxes!
These delectable rice balls are perfect for lunch breaks or as a snack. With a crispy exterior and a tender, flavorful interior, each bite delivers a delightful combination of textures. Plus, you can customize them with your favorite fillings, like chicken ham or turkey bacon, to create a nutritious meal that suits your taste buds.
An added benefit: preparing yaki onigiri is an excellent way to practice meal prep, allowing you to batch-cook a week's worth of lunches in under an hour. They store well in the freezer and can be reheated quickly, making them a great option for on-the-go professionals. Curious to learn more? Check out sources like Noma for innovative ways to enjoy rice in modern cuisine. Prepare to elevate your mealtime with this incredible recipe!
Ingredients for Yaki Onigiri
Essential ingredients for grilled rice balls
Making delicious yaki onigiri starts with the right ingredients. Here’s what you’ll need:
- 2¼ cups uncooked Japanese short-grain white rice: This type of rice is ideal for achieving that sticky texture that holds the shape of the onigiri beautifully.
- 2½ cups water: Essential for cooking the rice to perfection.
- 3 tablespoons soy sauce: This adds a savory depth that complements the rice.
- 1 tablespoon sugar: Balances the saltiness of the soy sauce.
- 1 tablespoon toasted sesame oil: Imparts a nutty flavor that enhances the overall taste.
- ¼ teaspoon Diamond Crystal kosher salt: A pinch of salt goes a long way.
Optional ingredients for customization
Want to make your yaki onigiri even more special? Consider adding:
- Fillings: Try incorporating spicy tuna, pickled plums, or even turkey bacon for a delightful surprise in each bite.
- Toppings: Sprinkle with chopped green onions or sesame seeds for added flavor and texture.
- Glaze: While the recipe includes a soy sauce glaze, you can also opt for homemade unagi sauce or teriyaki sauce for an extra touch of sweetness.
Feel free to experiment with these optional ingredients to make your yaki onigiri uniquely yours! For more guidance, check out this article on Japanese cuisine to explore traditional filling ideas.
Step-by-step Preparation of Yaki Onigiri
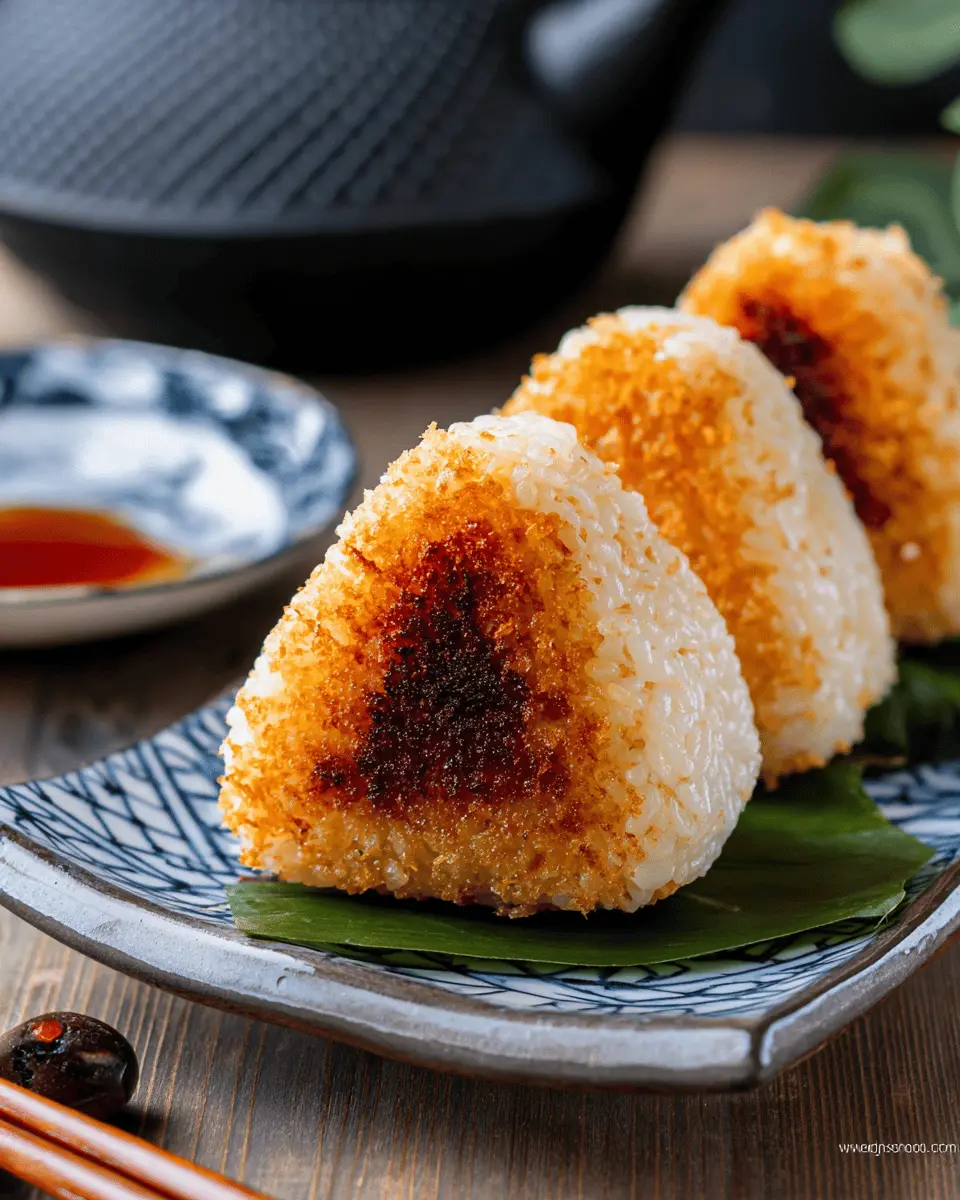
Making yaki onigiri is a delightful culinary adventure! With crispy outsides and a warm, flavorful inside, these grilled rice balls are perfect for snacking or as part of a meal. Here’s how to prepare them in a few easy steps.
Gather Your Ingredients and Tools
Before diving into the cooking process, ensure you have everything you need at your fingertips. For this recipe, you will need:
- Ingredients: Japanese short-grain rice, water, soy sauce, sugar, toasted sesame oil, kosher salt.
- Tools: A rice cooker or pot, mixing bowls, a rice paddle, an onigiri mold (or plastic wrap), and a frying pan with parchment paper.
Having everything ready will streamline your cooking experience and make it more enjoyable.
Prepare the Japanese Short-Grain Rice
The quality of your rice is crucial! Rinse 2¼ cups of Japanese short-grain white rice under cold water until the water runs clear, then soak it for 20 to 30 minutes. This soaking helps achieve the fluffy texture characteristic of onigiri.
Cook the rice according to the method of your choice—whether using a rice cooker, stovetop, or Instant Pot. Once cooked, let it cool slightly. Remember, the rice needs to be hot enough to hold its shape when forming your onigiri.
Season the Cooked Rice
In a small bowl, mix together 3 tablespoons of soy sauce and 1 tablespoon of sugar. Microwave until warm and stir until dissolved. Add 1 tablespoon of toasted sesame oil and ¼ teaspoon of diamond crystal kosher salt for a depth of flavor. Combine this seasoning mix with your warm rice using a slicing motion with a rice paddle to coat the rice evenly—be gentle to prevent mashing!
Shape the Onigiri
Using an onigiri mold can make shaping effortless and fun. First, moisten the mold and your hands with water to prevent sticking. Fill the mold with rice, pack it well, and release it onto a plate lined with parchment paper. For those opting for a more traditional approach, you can shape the rice by hand. Create a triangle by pressing and rotating the rice in your palms—this method can be quite satisfying!
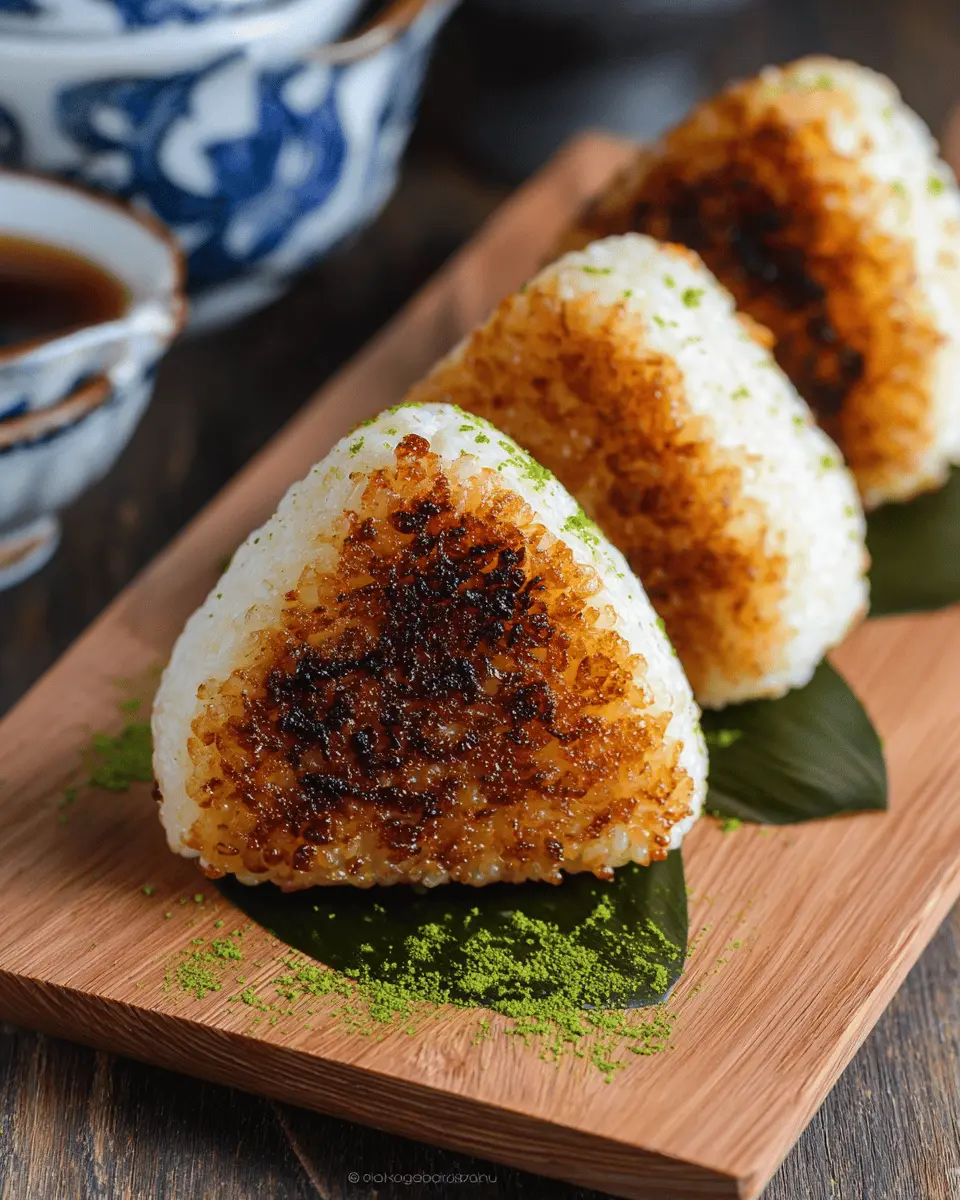
Grill the Onigiri for That Perfect Crunch
Now it’s time to transform your shaped rice balls into crispy delights! Heat a frying pan over medium-low heat and lay down some parchment paper. Gently place your onigiri onto the pan and grill each side until golden and crispy, rotating them carefully to avoid breakage.
Apply the Glaze for Extra Flavor
Once your onigiri are perfectly grilled, lower the heat and brush them with a glaze made from 1 tablespoon of soy sauce and 1 teaspoon of toasted sesame oil. This glaze adds an irresistible flavor and a glossy finish. Flip and repeat on the other side. Make sure to watch closely to avoid burning!
Now your delicious yaki onigiri is ready to enjoy! Serve them warm as a snack, or pair them with your favorite miso soup for a complete meal. Happy grilling!
Variations on Yaki Onigiri
Incorporating Different Fillings
One of the most exciting aspects of yaki onigiri is the opportunity for customization! Consider adding savory fillings like flaked salmon, chicken ham, or even sautéed vegetables for a burst of flavor. Chopped greens or mushrooms can enrich this dish, making it both heartier and more nutritious. You can also try experimenting with pickled plums, which add a delightful tanginess, offering a unique twist (learn more about different onigiri fillings here).
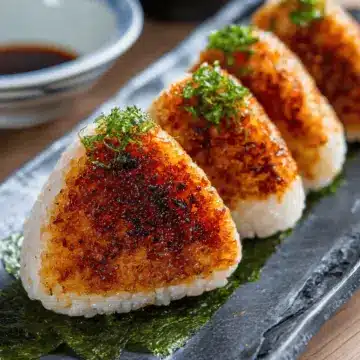
Experimenting with Sauces and Toppings
Don’t stop at the glaze; there are countless sauces to elevate your yaki onigiri. Brush on teriyaki sauce for a touch of sweetness or a spicy mayo drizzle to ignite your taste buds. If you're feeling adventurous, sprinkle some furikake seasoning or sesame seeds for extra crunch. These simple toppings can transform your rice ball into a gourmet treat, perfect for lunch or dinner! With these variations, you'll never tire of yaki onigiri.
Cooking Tips and Notes for Yaki Onigiri
When crafting delicious yaki onigiri, remember a few key points to ensure the perfect outcome. First, always use Japanese short-grain rice for optimal texture; it's crucial for that desired stickiness! Consider soaking the rice for 20-30 minutes before cooking—this step enhances flavor and helps it cook evenly.
While shaping the rice balls, wet your hands to prevent sticking, and be gentle when pressing them. A lighter touch maintains the airiness of the rice. Lastly, when grilling, keep an eye on the heat; too high can lead to burnt rice balls. For a twist, try adding fillings like teriyaki chicken or sautéed vegetables for extra flavor!
Serving Suggestions for Yaki Onigiri
Creative Ways to Enjoy Yaki Onigiri
Yaki onigiri is incredibly versatile! You can stuff the rice balls with various fillings for an exciting twist—think spicy tuna, pickled vegetables, or even chicken ham for a savory surprise. Feeling adventurous? Try a sprinkle of seaweed flakes or sesame seeds for added texture and flavor. Pair it with a drizzle of wasabi mayonnaise or your favorite dipping sauce for an extra kick!
Pairings for a Complete Meal
To create a well-rounded meal, serve yaki onigiri alongside miso soup and a refreshing side salad with sesame dressing. This combination not only complements the smoky rice balls but also provides a delightful contrast in flavors and textures. For a fun twist, why not include some grilled veggies or tempura? These sides will elevate your yaki onigiri experience, making it a satisfying culinary adventure! For more ideas on Japanese cuisine pairings, check out Just One Cookbook for inspiration.
Time Breakdown for Yaki Onigiri
Preparation Time
Get ready to dive into this delicious dish with a preparation time of just 15 minutes. During this time, you'll soak the rice and gather your ingredients, making sure everything is in place for a smooth cooking process.
Cooking Time
Once you're prepped, it’s time for the fun part! Cooking your yaki onigiri will take about 15 minutes. This includes shaping the rice balls, grilling them to a perfect crisp, and adding a delightful glaze.
Total Time
From start to finish, you can enjoy your freshly made yaki onigiri in just 30 minutes. It's a quick, satisfying recipe that's perfect for a weeknight dinner or a tasty snack any time.
If you're eager to learn more about the intricacies of making yaki onigiri, don't forget to check out Japan Center's tips on rice preparation.
Nutritional Facts for Yaki Onigiri
If you're curious about the nutritional profile of Yaki Onigiri, here's a quick breakdown:
Calories
Each serving of yaki onigiri contains approximately 207 calories, making it a satisfying yet light option for a snack or meal.
Carbohydrates
These delightful grilled rice balls are primarily made of carbs, providing around 42 grams per serving. They’re an excellent source of energy!
Protein
With 4 grams of protein per serving, yaki onigiri can give you a small boost to keep you going throughout your day.
For more insights on balanced nutrition, check out resources from the Harvard T.H. Chan School of Public Health to enhance your meal planning!
FAQs about Yaki Onigiri
Can I make yaki onigiri in advance?
Absolutely! Yaki onigiri can be made ahead of time, making them a convenient option for meal prep. After grilling, allow them to cool and wrap each rice ball individually in plastic wrap. They can be frozen for up to a month. When you're ready to enjoy, simply reheat in a microwave or skillet. For best texture, avoid refrigerating them as the rice may become hard.
What should I serve with yaki onigiri?
Yaki onigiri pairs wonderfully with a variety of dishes. Consider serving them alongside a fresh salad, pickled vegetables, or a warm bowl of miso soup for a complete meal. For a heartier option, try adding some grilled chicken ham, turkey bacon, or sautéed vegetables to round out your plate.
Are there gluten-free options for this recipe?
Yes, you can easily make yaki onigiri gluten-free! Just substitute the soy sauce with a gluten-free tamari version. Check the labels to ensure each ingredient fits your dietary needs. This way, everyone can enjoy these delicious grilled rice balls without worry!
For more details on rice preparation, check out resources like the California Rice Commission for insights on rice varieties and cooking tips.
Conclusion on Yaki Onigiri
Yaki onigiri are a delightful fusion of flavor and texture, perfect for any time of the day. Whether served as a snack or a side dish, their crispy exterior and savory glaze are sure to impress. Enjoy making them at home, and don’t forget to share your creations!
Yaki Onigiri (Grilled Rice Ball)
Equipment
- rice cooker
- frying pan
- onigiri mold
- microwave
Ingredients
For the Steamed Rice
- 2.25 cups uncooked Japanese short-grain white rice 540 ml for 9 rice balls
- 2.5 cups water
For the Rice Seasoning
- 3 tablespoon soy sauce
- 1 tablespoon sugar
- 1 tablespoon toasted sesame oil
- 0.25 teaspoon Diamond Crystal kosher salt
For the Glaze
- 1 tablespoon soy sauce
- 1 teaspoon toasted sesame oil
Instructions
Preparation
- Soak the Japanese short-grain white rice for 20-30 minutes.
- Cook the rice with 2.5 cups of water. Gather all ingredients after cooking.
Seasoning the Rice
- Combine 3 tablespoon soy sauce and 1 tablespoon sugar in a bowl and microwave until hot; whisk until dissolved.
- Add 1 tablespoon toasted sesame oil and 0.25 teaspoon salt; mix well.
- Combine the seasoning with hot cooked rice using a rice paddle without mashing.
Shaping the Onigiri
- Wet the onigiri mold and fill it with seasoned rice; press down firmly.
- Release the rice onto a baking sheet or plate lined with parchment paper.
- Firmly hand press the rice balls to shape them.
Grilling
- Combine 1 tablespoon soy sauce and 1 teaspoon sesame oil for the glaze.
- Place rice balls on parchment paper in a frying pan and grill until crispy.
Glazing
- Brush the onigiri with soy sauce glaze and turn to grill on both sides.
- Optionally, brush with unagi sauce and teriyaki sauce.
Storage
- Individually seal onigiri in plastic wrap and freeze for up to a month.
- If storing in the fridge, cover with a thick kitchen towel for up to 2 days.

Leave a Reply