
Introduction to No Bake Cheesecake Cups
If you're seeking a delightful dessert that combines simplicity and indulgence, these no bake cheesecake cups are your answer! In just 10 minutes of prep time, you can whip up these delicious little treats, making them perfect for gatherings—or a sweet personal treat. But what makes no bake desserts a real game changer?
Why No Bake Desserts are a Game Changer
No bake desserts eliminate the hassle of preheating the oven and measuring out complicated baking essentials, allowing you to focus on the fun part—enjoying your creations! Perfect for busy young professionals, these recipes require minimal ingredients and little kitchen equipment. According to a study by the American Institute for Cancer Research, enjoying desserts in moderation can enhance life’s moments without excess calories from baking mishaps.
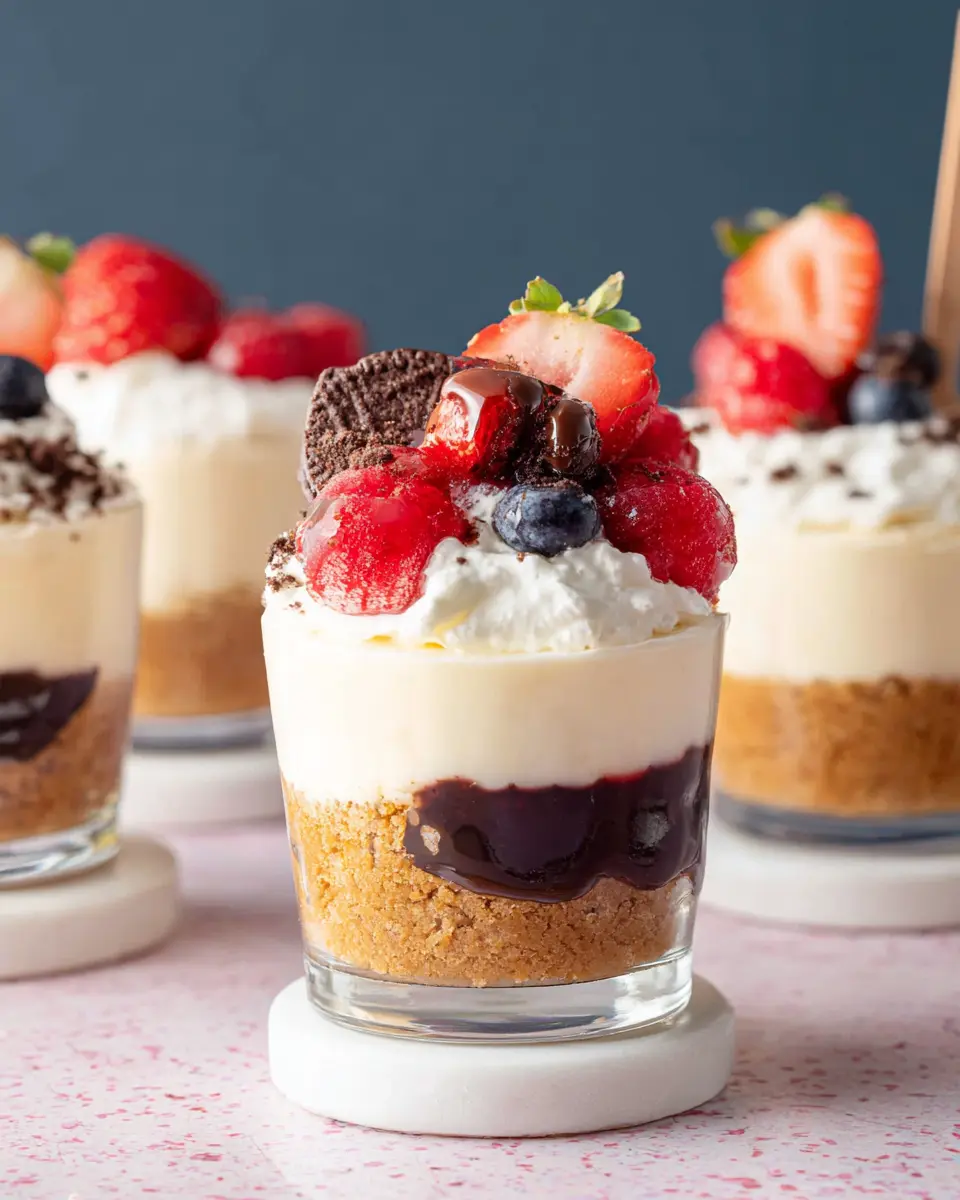
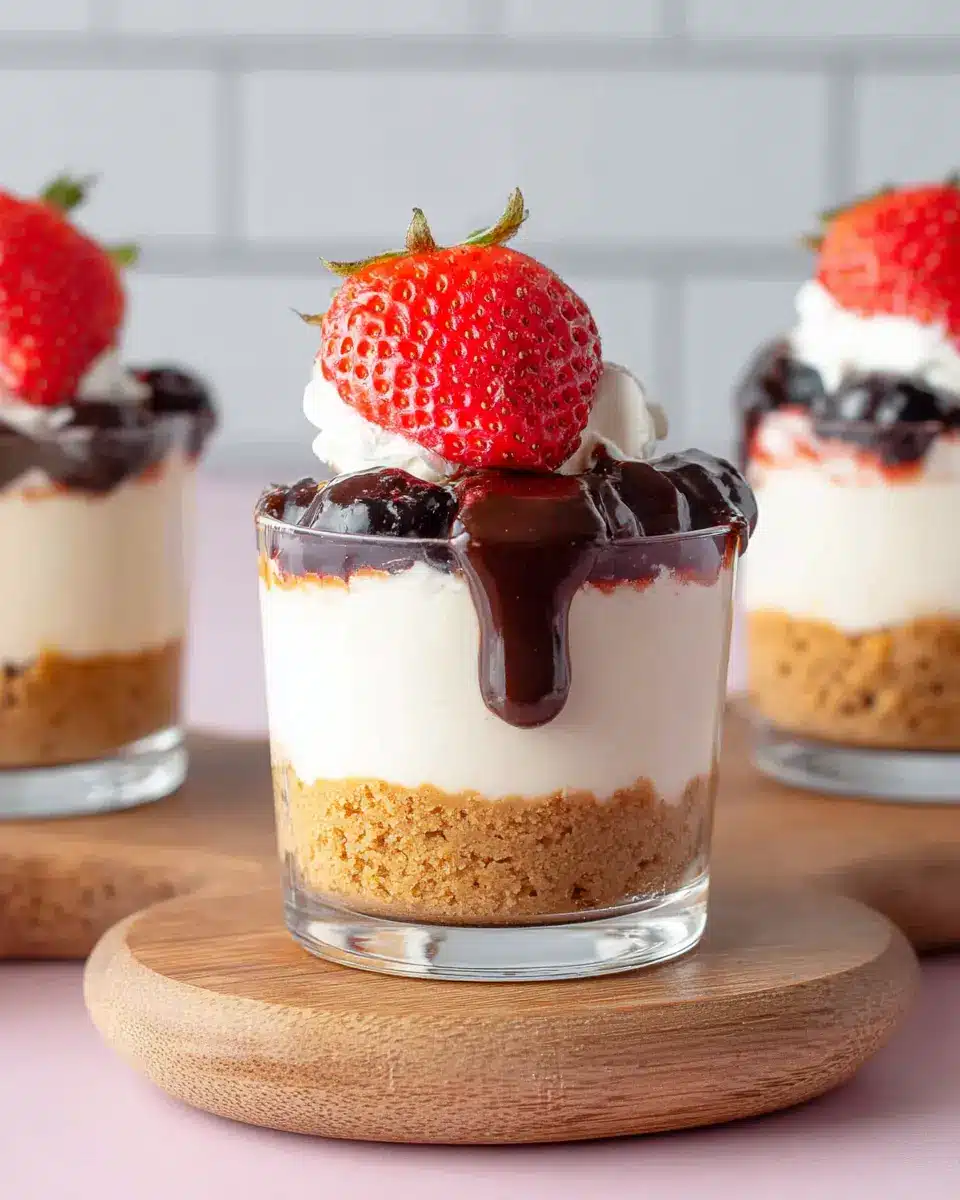
Imagine finishing a long day and treating yourself to a creamy, rich cheesecake without any oven fuss! With these no bake cheesecake cups, you can impress guests easily or enjoy a little self-care time. Whether garnished with fresh berries or drizzled with fruit pie filling, these cups pack flavor and style in every spoonful.
So, gather your simple ingredients, and let's dive into this deliciously easy treat!
Ingredients for No Bake Cheesecake Cups
Essential Ingredients for Creamy Delight
Creating the perfect no bake cheesecake cups is all about balancing flavors and textures. Here's what you'll need:
- 1 cup graham cracker crumbs: The base for that classic cheesecake crust.
- ¼ cup light brown sugar: Adds a touch of sweetness and depth.
- ¼ cup unsalted butter, melted: Binds the crust together for a delicious crunch.
- 14 ounces cream cheese, at room temperature: The star of the show for creamy richness.
- 8 ounces sweetened condensed milk: Provides sweetness and a luscious texture.
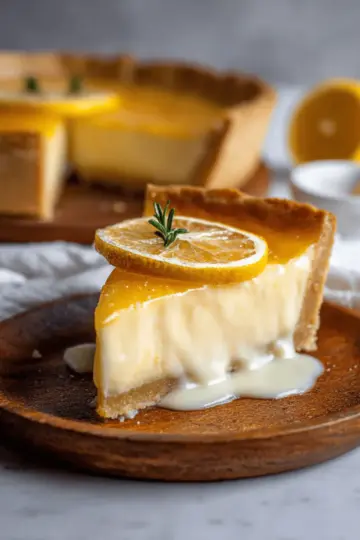
- 1 tablespoon fresh lemon juice: A splash of acidity to brighten the flavors.
- ½ teaspoon vanilla extract: For that irresistible aromatic hint.
- ¼ cup whipped topping, thawed: To lighten the cream cheese mixture.
Did you know that using room temperature cream cheese is key to a smooth filling? For more tips on working with cream cheese, check out this expert guide.
Optional Garnishes for Extra Flair
While your no bake cheesecake cups shine on their own, a little garnish can elevate them to a whole new level. Here are some ideas:
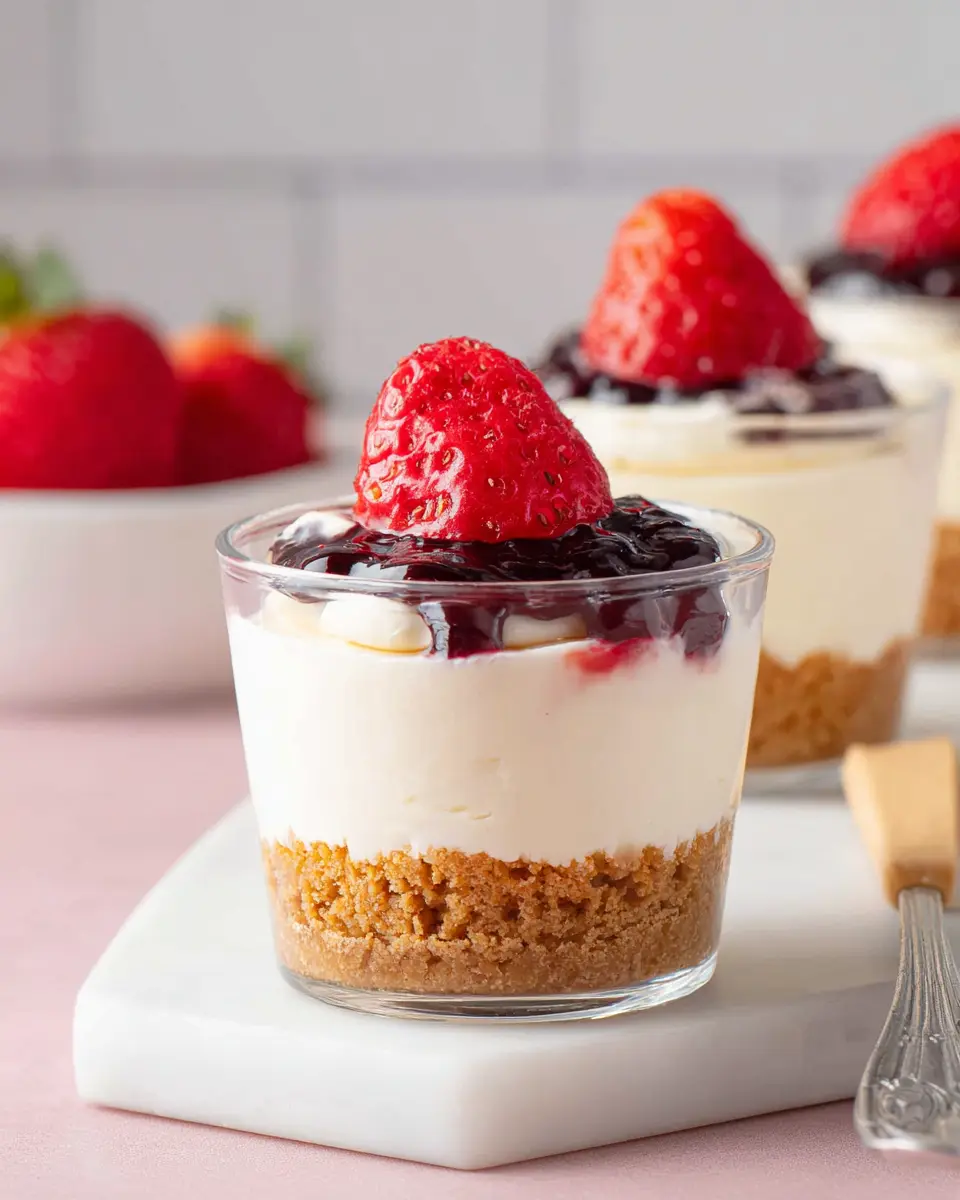
- Fresh berries: Strawberries, blueberries, or raspberries add a pop of color and flavor.
- Fruit pie filling: A layer of cherry or blueberry pie filling can be a delightful twist.
Don’t be shy about getting creative—your friends will love the personal touch! What flavors do you think would pair well?
Preparing No Bake Cheesecake Cups
Making no bake cheesecake cups is a delightful and simple way to impress your friends at your next gathering. In just a few steps, you can whip up these creamy delights that are as satisfying as they are easy to prepare. While the recipe is straightforward, let’s ensure we’re fully prepared to create these delicious, handheld treats.
Gather Your Materials
Before you dive into assembling your tasty no bake cheesecake cups, it’s essential to have everything you need on hand. Here’s what you’ll require:
- 1 cup graham cracker crumbs
- ¼ cup packed light brown sugar
- ¼ cup unsalted butter (melted)
- 14 ounces cream cheese (room temperature)
- 8 ounces sweetened condensed milk
- 1 tablespoon fresh lemon juice
- ½ teaspoon vanilla extract
- ¼ cup whipped topping (thawed)
- Fresh berries or fruit pie filling for garnish (optional)
Having all your ingredients out and ready will make the process smoother and more enjoyable!
Create the Graham Cracker Crust
Next, you’ll want to make the crust that brings that classic cheesecake flavor to life. In a medium bowl, combine the graham cracker crumbs, brown sugar, and melted butter. Stir until everything meshes perfectly—think of it as creating a sweet, crumbly sand. Once fully mixed, press the mixture evenly into the bottom of each dessert cup to form your crust. This step is crucial for that perfect foundation that enhances the overall taste and texture of your no bake cheesecake cups.
Beat the Cream Cheese Mixture
In a separate large bowl, grab your electric mixer and beat the cream cheese until it’s nice and smooth. This may take a minute or two, but your patience will pay off when you taste the creaminess! Add in the sweetened condensed milk, lemon juice, and vanilla extract, and continue mixing for another 4-5 minutes. You want the mixture fluffy and airy, resembling thick cloud-like goodness.
Combine and Fold in Whipped Topping
Now comes the fun part! Gently fold in the thawed whipped topping to your creamy mixture. This will add lightness and a lovely sweetness to your no bake cheesecake cups. Be careful not to overmix; you want to maintain that airy texture.
Assemble the Dessert Cups
It’s now time to bring it all together. Spoon or pipe the creamy filling into each cup over the crust you prepared earlier. For the neatest look, using a piping bag can really elevate this step, giving you a professional touch.
Chill for that Perfect Texture
Once your cups are assembled, cover them and refrigerate for at least four hours. This chilling time allows the filling to firm up, making each bite of your no bake cheesecake cups a creamy, delightful treat.
Trust me, the anticipation will be worth it when you finally serve these chilled delights, topped with your favorite fresh berries or a drizzle of fruit pie filling. Enjoy!
Variations on No Bake Cheesecake Cups
Creating delightful no bake cheesecake cups opens the door to endless variations. Why not experiment a bit?
Fruity Twists for No Bake Cheesecake Cups
Add a burst of color and flavor by incorporating your favorite fruits! Consider topping your cups with fresh berries, or even a homemade fruit sauce. Seasonal fruits like strawberries, peaches, or mangoes add a refreshing touch. You can also mix fruit puree directly into the cheese filling for a fruity surprise in every bite!
Chocolate Lovers’ No Bake Cheesecake Cups
For the chocoholics, a few simple additions can elevate your no bake cheesecake cups to heavenly status. Swirl in some melted chocolate into the cream cheese mixture, or sprinkle chocolate chips on top before chilling. You can also use Oreo crumbs instead of graham crackers for a cookies-and-cream twist.
These variations keep every gathering or quiet night in exciting and full of flavor!
Cooking Tips and Notes for No Bake Cheesecake Cups
Ensuring Your Cheesecake Cups Set Properly
For the best results with your no bake cheesecake cups, chilling is crucial! Make sure to refrigerate them for at least four hours to allow the filling to firm up properly. If you’re short on time, try placing them in the freezer for a quick chill, but keep an eye on them to prevent freezing.
Choosing the Right Containers
Opt for containers that hold about six ounces each, like Pyrex custard cups or small mason jars, to create the perfect portion size. They should be easy to handle while serving your guests. The presentation matters, so clear or colorful cups can enhance the look of your delectable no bake cheesecake cups.
If you're curious about other creative dessert ideas, check out this guide to dessert cups.
Serving Suggestions for No Bake Cheesecake Cups
Creative Ways to Present Your Cheesecake Cups
Elevate your no bake cheesecake cups by using visually appealing serving dishes. Consider:
- Mini jars for a rustic vibe
- Mason jars that add a touch of charm
- Elegant glassware for a sophisticated look
Garnish each cup with a sprig of mint or colorful fruit to create a stunning contrast.
Pairing Suggestions for a Complete Experience
To complement your no bake cheesecake cups, serve them alongside:
- A refreshing pitcher of lemonade or iced tea for a cool pairing
- Fresh fruit platters for a light contrast
- A selection of tea or coffee to balance the sweetness
Mixing textures and flavors while maintaining simplicity will impress your guests and keep your dessert table inviting.
Time Breakdown for No Bake Cheesecake Cups
Preparation Time
You’ll need just 10 minutes to whip up these delightful no bake cheesecake cups! It’s a quick and easy start to a delicious dessert.
Chilling Time
Patience is key! Allow the cups to chill for at least 4 hours. This waiting period helps the flavors meld perfectly.
Total Time
Ready for the magic? The complete process takes about 4 hours and 10 minutes. Most of that is chilling time, so feel free to enjoy a nice break while you wait!
For more dessert ideas, check out some tasty recipes from BBC Good Food or Food Network.
Nutritional Facts for No Bake Cheesecake Cups
When indulging in these delicious no bake cheesecake cups, you might wonder about their nutritional values. Here’s a quick overview:
- Calories: Each serving contains approximately 518 calories, making it a satisfying treat.
- Carbohydrates: With around 44g per serving, these cups are rich in carbs, perfect for an energy boost.
- Sugar Content: At 36g of sugar, they’re undeniably sweet, offering a delightful dessert experience.
For more details on healthy dessert options, check out Healthline’s article on added sugars to stay informed.
FAQs about No Bake Cheesecake Cups
How can I make my cheesecake cups lighter?
To make your no bake cheesecake cups lighter, consider using low-fat cream cheese and swapping some of the sweetened condensed milk with Greek yogurt. The yogurt adds a delightful creaminess while cutting down on calories. You can also decrease the sugar, and if you're feeling adventurous, try adding whipped egg whites for extra fluffiness!
Can I make these in advance?
Absolutely! One of the beauties of no bake cheesecake cups is their make-ahead potential. You can prepare them a few days in advance and store them in the refrigerator. Just remember to top them with your favorite garnishes, like fresh berries or fruit pie filling, right before serving for that fresh touch.
What can I use instead of graham crackers?
If graham crackers aren't your thing, don’t worry! You can use crushed cookies like Oreos for a chocolate twist or vanilla wafers for a subtler flavor. Even crushed nuts can add a satisfying crunch. Just be creative and enjoy your customized no bake cheesecake cups! Explore more alternatives here.
Conclusion on No Bake Cheesecake Cups
No bake cheesecake cups are a delightful treat that blend ease and elegance, perfect for any occasion. With just ten minutes of prep and a bit of chilling time, you can impress guests—or simply indulge yourself. Enjoy experimenting with toppings for a personalized touch!
For more variations on desserts, check out this article on delicious no bake recipes.

No Bake Cheesecake Cups
Equipment
- Mixing Bowls
- Electric Mixer
- dessert cups
Ingredients
Crust
- 1 cup graham cracker crumbs
- ¼ cup light brown sugar packed
- ¼ cup unsalted butter melted
Filling
- 14 ounces cream cheese room temperature
- 8 ounces sweetened condensed milk
- 1 tablespoon fresh lemon juice
- ½ teaspoon vanilla extract
- ¼ cup whipped topping thawed
Garnishes
- fresh berries
- fruit pie filling optional
Instructions
Preparation
- Set aside 6 small dessert cups.
- In a medium bowl, stir together the graham cracker crumbs, brown sugar, and melted butter until well mixed.
- Press the cracker mixture evenly into bottom of each cup.
- In a separate large bowl, use an electric mixer at high speed to beat the cream cheese until smooth.
- Add the sweetened condensed milk, lemon juice and vanilla. Continue beating 4-5 minutes until the mixture is fluffy.
- Stir in the whipped topping.
- Divide the cheesecake mixture evenly between the dessert cups.
- Cover and refrigerate for at least 4 hours before topping with desired garnishes.
- Serve chilled. May be stored refrigerated for up to 4 days.
Leave a Reply